How to Complete a Downward Facing Dog Yoga Pose
This common yoga pose is perfect for working on the muscles in your arms, as well as finding a sense of relaxation. Yoga instructor Marissa Rykiss demonstrates how to correctly execute the Downward Facing Dog pose.
As far as widely-known yoga poses go, downward facing dog is definitely a popular one, which pops up in most, (if not all), yoga routines. This pose is great for awakening the muscles in the arms and the shoulders. One thing that sets this pose apart from the others is that it’s an inversion, which can be really helpful in calming the mind and encouraging relaxation. Here’s how to practice the pose properly.
Step 1: Tabletop Position
The tabletop position requires you to pose in a kneeling position, with your fingers wide, and hands placed firmly on the ground, and your knees and hands lined up with each other. As its name suggests, the formation should look something like a table from the side profile, as your back should be completely level at this stage in the pose.
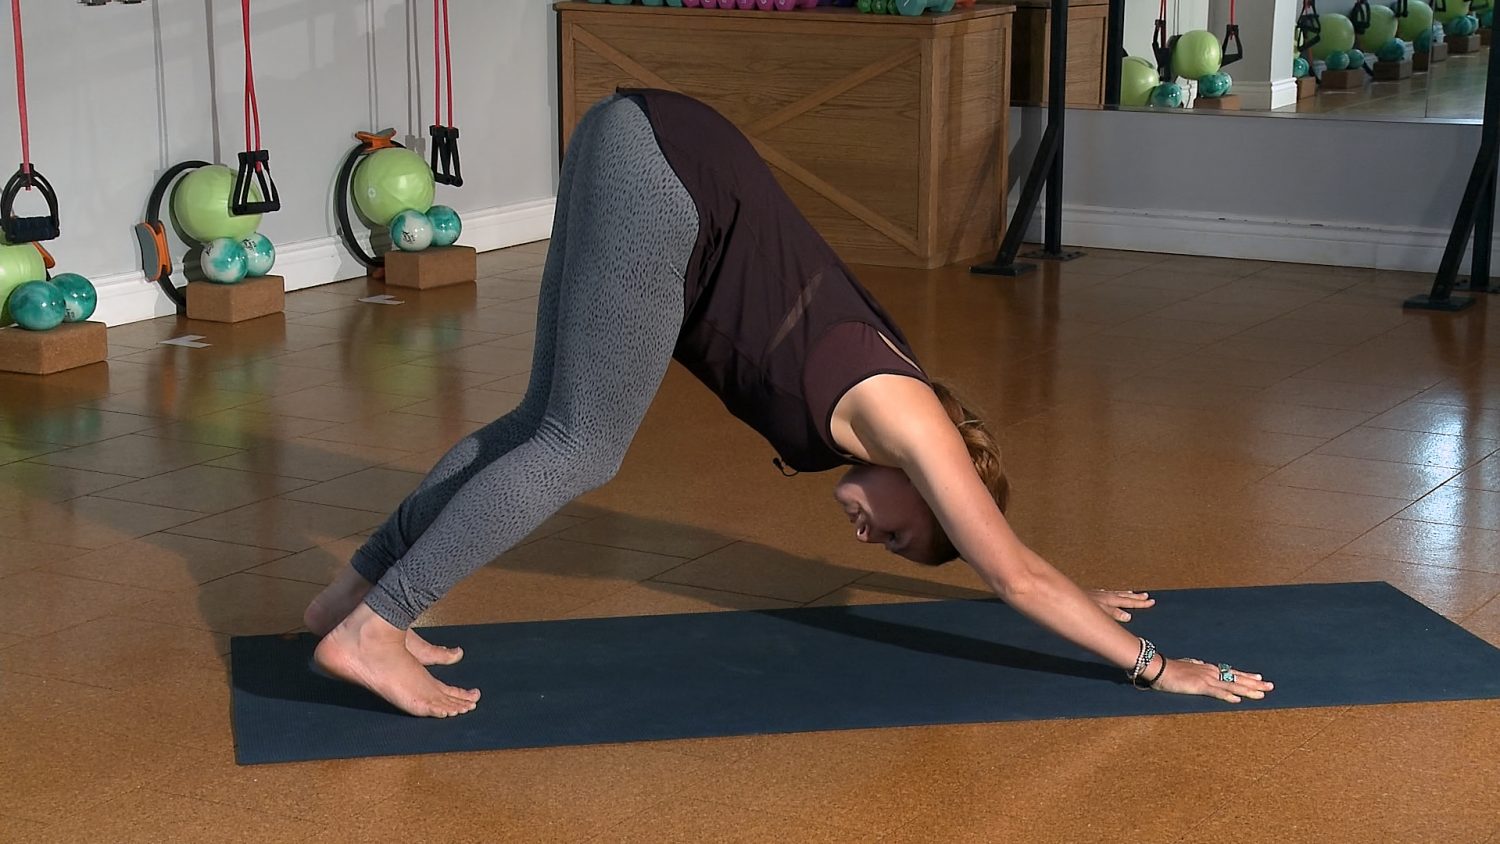
Step 2: Extend
With your fingers wide, grip the mat with the tips of your finger, and then curl your toes under. Lift your knees away from your mat, and if you feel like your lower back is curling in, pull you belly inwards. From there, push your hands into the mat, and at the same time, push your hips upwards and backwards. It’s normal to feel tightness in the backs of the legs during this stage, however, it’s important to not let the spine curve as a result. Keep your back as straight as possible, even if it means bending your knees. With time, you will be able to press your heels into the mat when doing this pose, which means straightening your legs and back simultaneously.
Step 3: Come Out of the Pose
To come out of the pose, soften your knees, returning to tabletop position, and don’t forget to keep breathing!