Alterations Made Easy
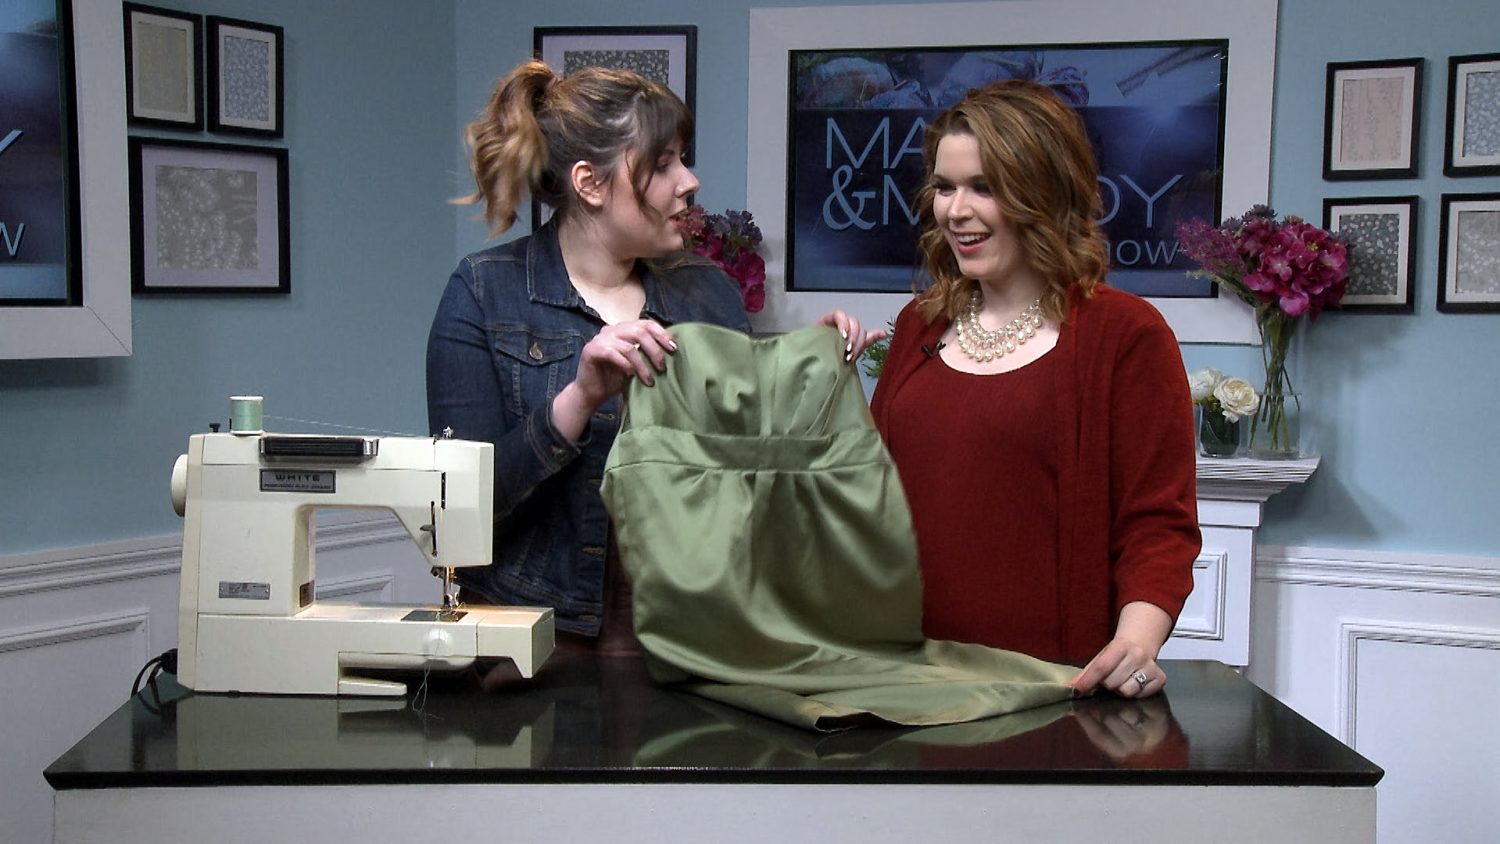
Even the perfect dress may need an alteration or two to lend it some wow factor. Fashion and beauty enthusiast and blogger, Vanessa Ogiobowski, shares an invaluable life hack: how to DIY alterations from the comfort of your own home. For this DIY Vanessa employs a strapless dress and separate pre-constructed top.
What you’ll need: a strapless dress, fabric for the top or a top that has been already constructed, a sewing machine, thread, pins, accessories.
Step 1: Try On Your Garments
Arguably, this is the most important step of this DIY. Not only should you try on your strapless dress and top separately, but try them on together to get a feel for how the top will look underneath the dress. This is an important step to gauge fit, and also to see if the fabrics you’ve chosen look natural together.
Step 2: Pin
Next, pin the garments together, before heading over to your sewing machine.
Step 3: Sew
Once you’ve set up your machine, you can begin sewing your two garments together. When sewing, try to keep the seam as close as possible to the edge of your strapless dress, and take extra care to make sure that seam is absolutely straight, as the seam will be visible. TIP The color of your thread matters! Thread your machine with a thread that’s the same color as your dress; if not the same, as close as possible.
Step 4: Finishing Touches
Finally, if you’re working with raw fabric rather than a pre-constructed top, finish off the raw edges with your sewing machine and add any desired accessories, such as buttons or zippers.


