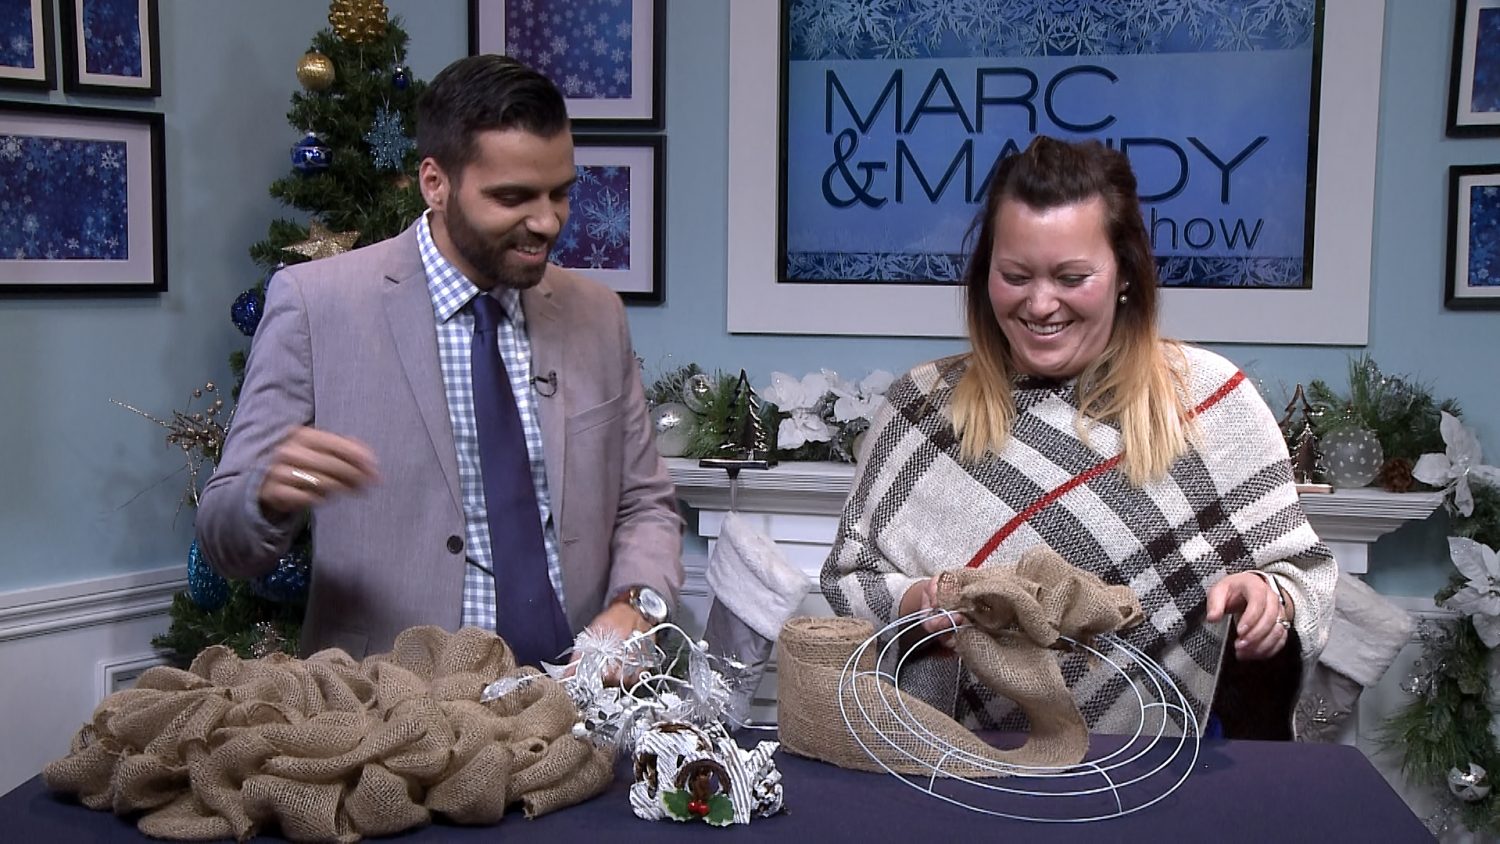
Creating A Burlap Christmas Wreath with Tracy Smith
One great thing about wreaths is that they’re hardly restricted to a singular season. Tracy Smith of Wreaths by Tracy shows us how to recreate her clever DIY idea: an interchangeable wreath, which can be changed from season to season.
What you’ll need:
- burlap
- wire form
- twist ties
- pinecones
- various decorations
Step 1: Secure the Burlap
Attach the burlap to the wire form, ensuring you are tying it on tightly so it doesn’t come loose.
Step 2: Weave and Repeat
Next, you want to weave the burlap through the wire form, pulling the material from bottom to top, through each ring of the form. You should begin to see rows of loops forming, and each row should consist of four loops before you move onto another row.
Step 3: Install the Accents
Once you’ve woven the burlap through the entire form, you should no longer be able to see the wire form – this is when you know it’s time to install the accents, (a.k.a. the aforementioned, “various decorations”). A festive garland, for instance, is a good accessory to Employ because it’s lightweight and you can weave it through the burlap, attaching it to the frame with twist ties. For any items that can’t be secured with the twist ties, fasten clips to the back of items, and secure them that way onto the wire frame. The twist ties and clips will ensure that nothing on this wreath is permanent
Step 4: Replace the Accents
This wreath should serve you well throughout the holiday season and then some. Trade out decorations as the seasons change to truly get good use of this versatile wreath.


