Make Your Own DIY Photo Coasters
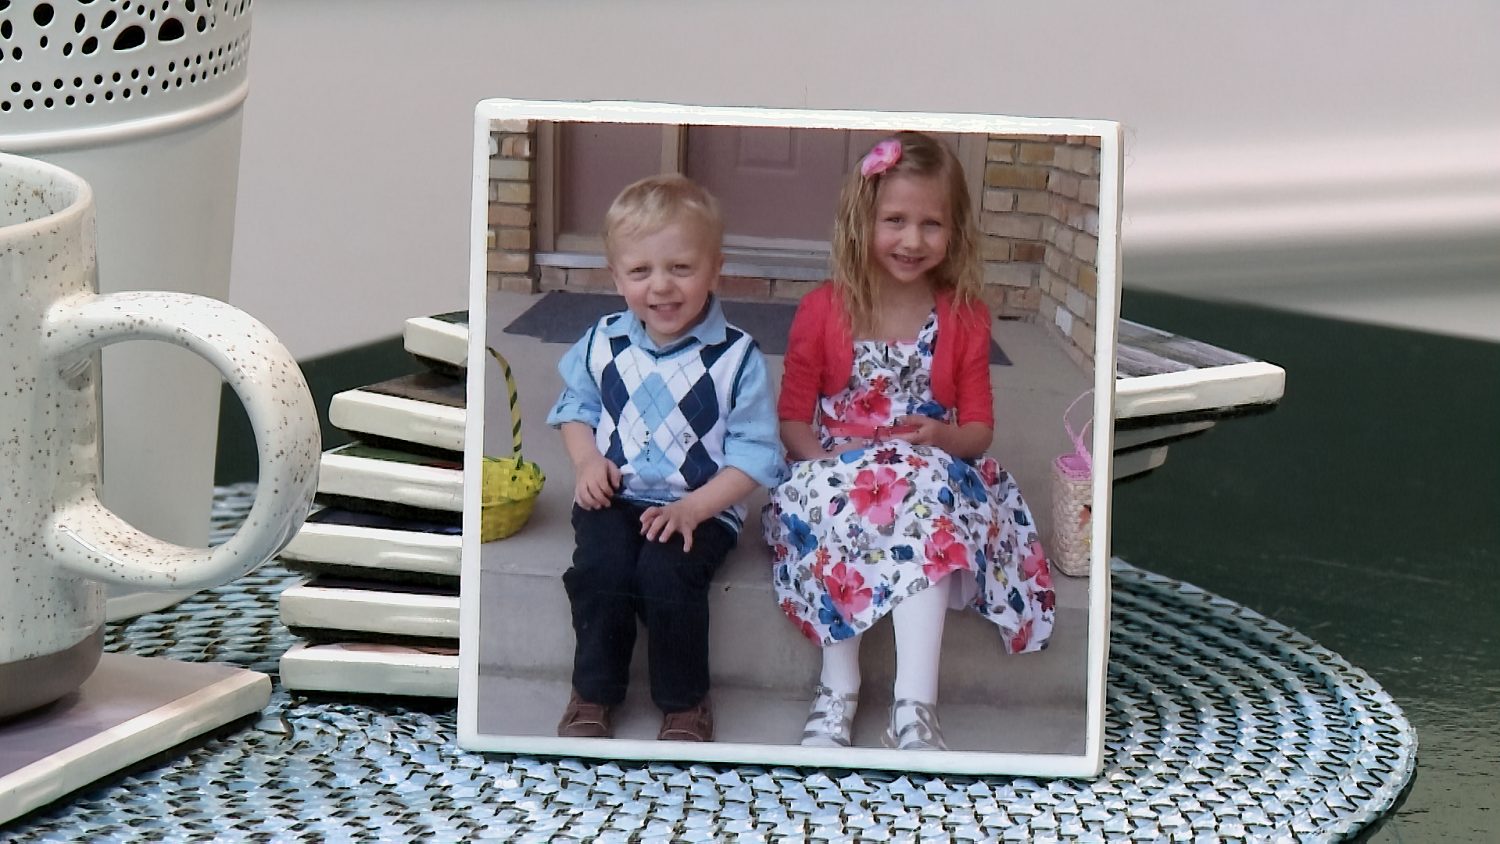
Here at The Marc and Mandy Show, we believe that homemade gifts are the best gifts of all! In that spirit, our DIY expert, Anita Recksideler, shows Mandy how to make DIY photo coasters. Keep reading for step-by-step instructions.
What you’ll need: ceramic tiles, sandpaper, Mod Podge, paint brushes, photographs, waterproof sealant
Step 1: Sand
This project requires small pieces of tile, which can be obtained at any hardware store. Start off by sanding down the tile until it’s smooth.
Step 2: Mod Podge
Next, coat the top of the tile with an even layer of Mod Podge. This area is where the photographs will go. TIP If you don’t want to use pictures on your coaster, you can also use patterned paper.
Step 3: Paste
This step calls for photographs – which can be printed on photo paper or regular paper. Adhere your photograph (or patterned paper) to the Mod Podge and let it sit for a few seconds before moving on to the next step.
Step 4: Mod Podge (round 2)
Next, apply another coat of Mod Podge directly on top of your photograph. Ensure you are applying the Mod Podge in one direction. Keep in mind that Mod Podge dries clear, so don’t fret if it begins to obscure the photo. Once your first coast is completely dry, you can apply another layer of Mod Podge.
Step 5: Seal
Once you’ve let your creation dry for at least 24-hours, apply a waterproof sealant. This will ensure your photo coaster will stand the test of time.
