Book Purse DIY
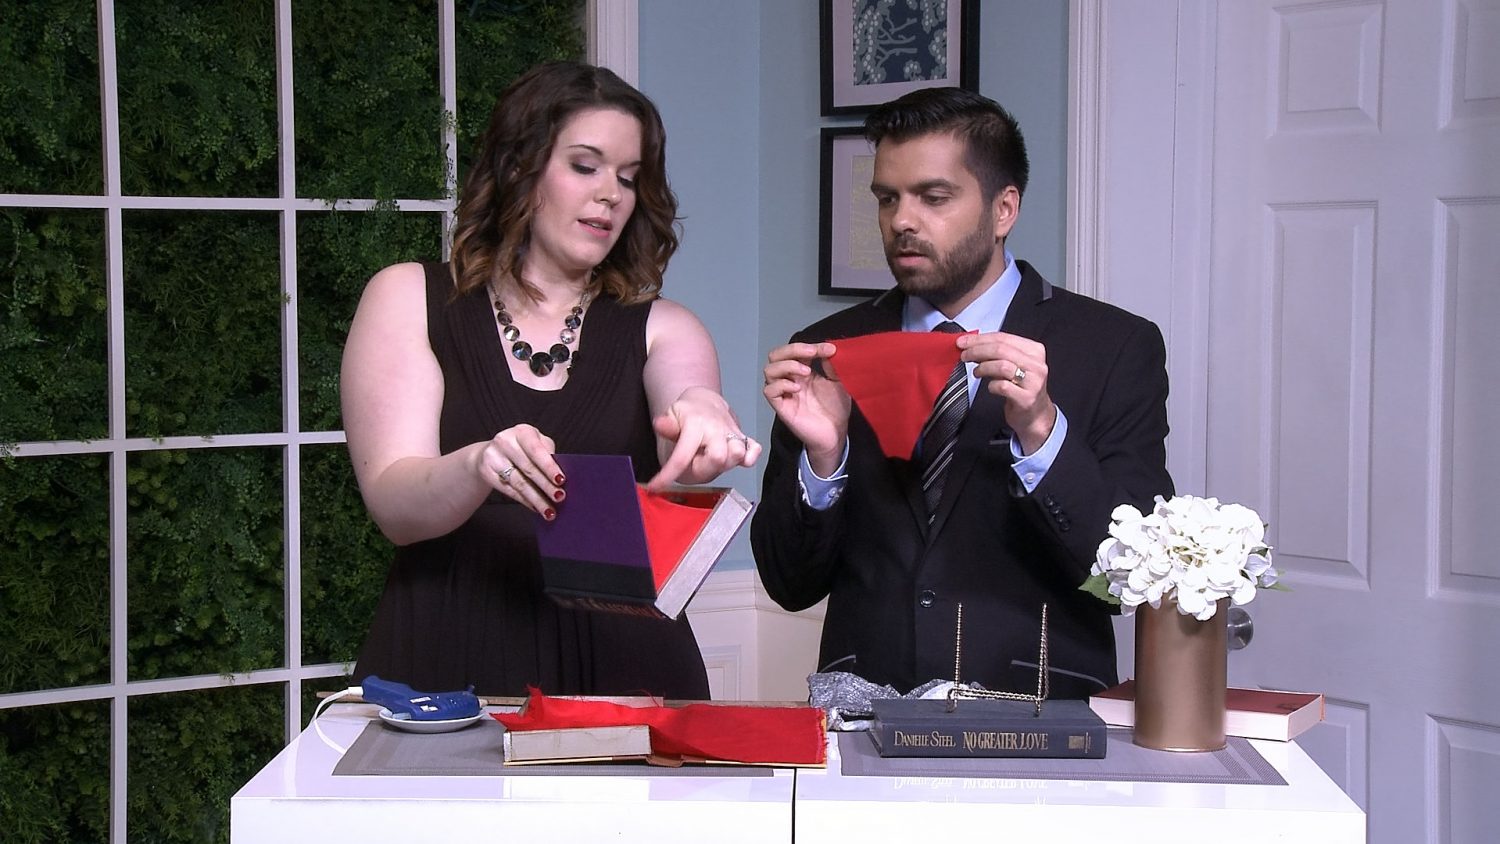
If you follow the Marc and Mandy Show, you’ll know how much we love a good DIY. True to form, this segment explores an unexpected to repurpose something we have kicking around the house: books! Keep reading for a great DIY, which transforms old books into a trendy purse. This project is perfect for students, fashionistas, and for anyone looking to add a unique touch to their look!
What you’ll need: a hardcover book, a glue gun, a yard stick, nails, fabric, scissors.
Step 1: Isolate the Cover
Books that you don’t read anyone or that are damaged on the outside are best for this project, because as a first step, you’ll be gutting everything that’s between the hardcovers. Once you’ve removed all of the pages, you can move on to Step 2.
Step 2: Repurpose a Yardstick
Next, you’re going to transform an old yard stick to form the rest of the clutch. To do this, you’ll need to cut the yardstick into three pieces, using the dimensions of three sides of the book – (save for the spine) – to gage how long each of the three pieces should be. Nail or hot glue the ends of the three pieces together to form a rectangular shape that is fully-formed, except on one side. At this stage, you can also paint your frame.
Step 3: Secure the Frame
In this step, you will be fastening your frame to your hardcover using hot glue. To achieve this, apply hot glue to one edge of the frame, and secure it to one side of your hardcover.
Step 4: Create the Lining
To create the inner lining of your clutch, cut a piece of fabric in the exact shape of the flat layout of the book. To create the side sections, you’ll need to cut four triangular pieces of fabric, based on how wide you would like your clutch to be when opened up. Sew all of these pieces together to form a bag, which should fit perfectly into your hardcover. Secure the lining to the hardcover with hot glue, ensuring to glue all the edges down securely.


