DIY Rustic Bath Tray
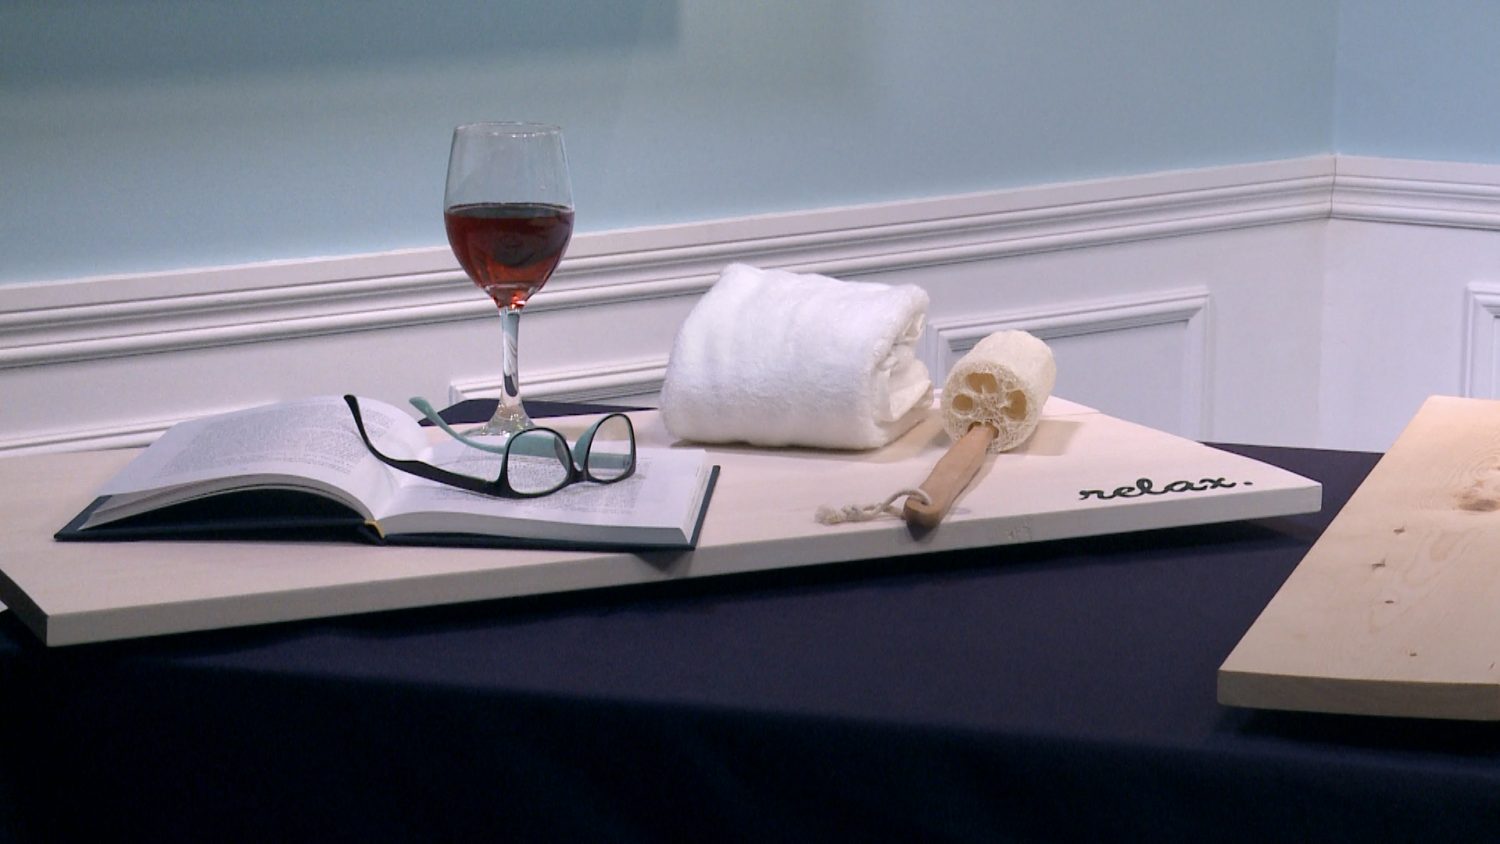
If you’ve got an anniversary or special occasion coming up, this DIY idea could make for the perfect gift for your SO. In this segment of the Marc and Mandy Show, Jackie Block, of Parkwood Studio, shows us how to recreate a beautiful, rustic bath tray.
What you’ll need: wood boards, sand paper, saw, measuring tape, glue, staples, paint, water-proof sealant
Step 1: Measure
First things first, measure the width of your bathtub. Once you’ve double checked your measurement – (says our expert: “measure twice, cut once”) – you can then cut your three wood boards to match the width of your bath tub.
Step 2: Fasten
Next, you’ll want to fasten your wood boards together using nails or wood glue. To do this, simply lay your three pre-cut wood boards out flat and in a row, and place two smaller sections of wood over top. Fasten the two smaller sections of wood to the three larger wood boards using nails or wood glue. You should now have something resembling a tray.
Step 3: Sand
Sand the edges of the tray to get rid of any roughness or inconsistencies.
Step 4: Decorate & Seal
At this stage, your tray is nearly ready for use. Paint, white wash, stain, or decorate your tub tray as you see fit, and don’t forget to seal your creation using a water-proof sealant!
