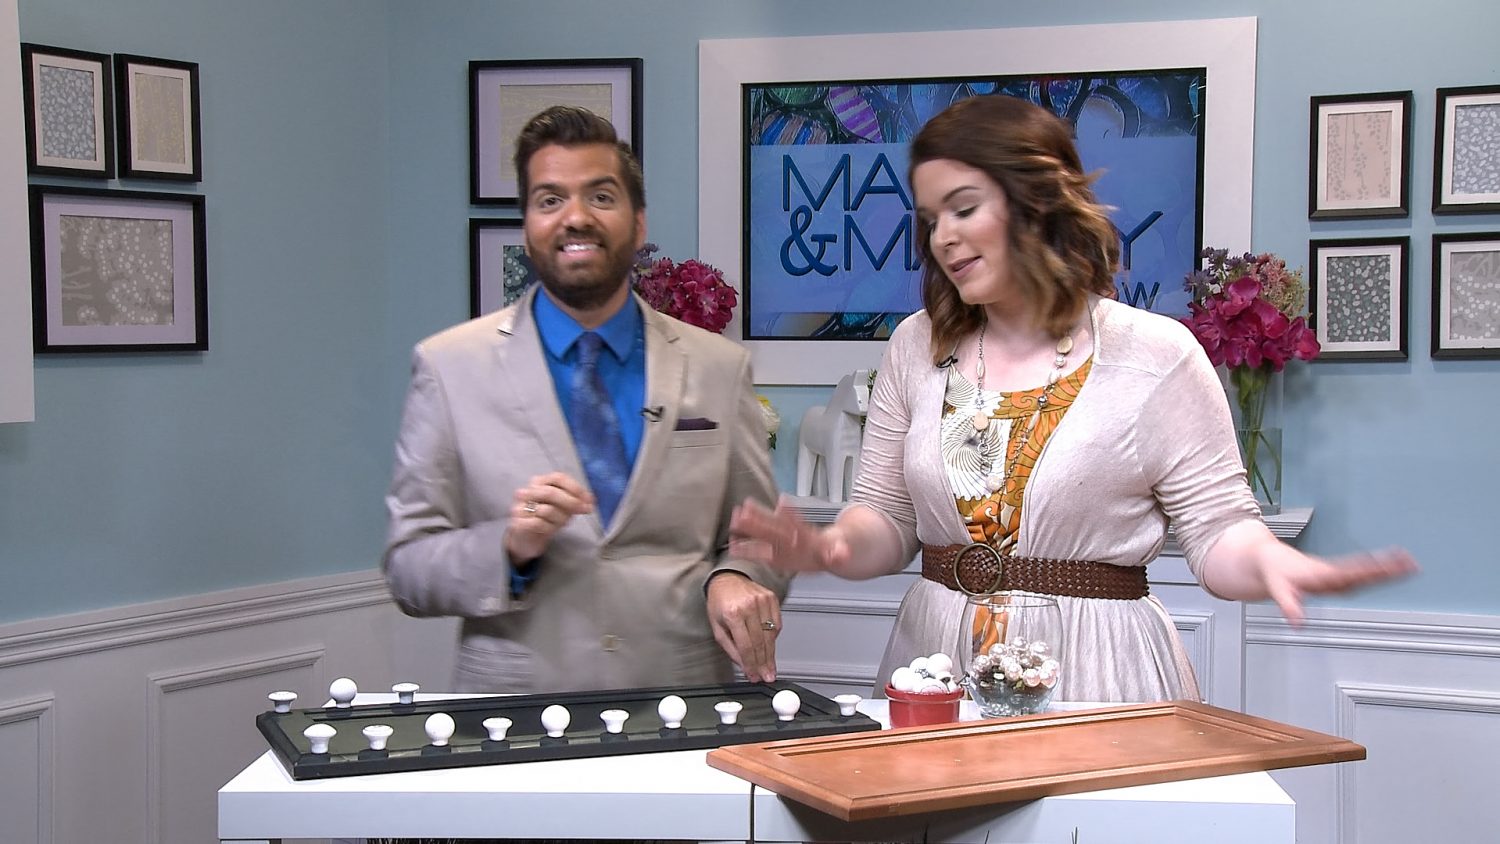
DIY Jewelery Storage
Jewelry is fun to wear – (and even more fun to buy) – but keeping it organized can be a true test of your patience. Bring order to your collection of bling, with this DIY-able jewelry organizer idea, using a piece of repurposed cabinetry.
What you’ll need: piece of cabinetry, wood filler, sand paper or a power sander, paint, knobs/cabinetry hardware, drill, materials to mount
Step 1: Prep
First things first, you’ll want to fill any existing holes in your cabinetry piece using wood filler. Once the wood filler has dried, sand the areas you’ve just filled until smooth.
Step 2: Paint
Next, using a paint color that will compliment your closet or bedroom, paint the cabinetry piece completely. Marc recommends using a classic neutral, such as black.
Step 3: Drill
Using a drill, pre-drill holes at two-inches apart all along the border of the cabinetry piece. If your knobs are on the large side, leave more room in between the holes. Ensure you are leaving equal distance from hole to hole. You can then insert your knobs or other hardware into the holes. The hardware will serve to hang your jewelry on, once your project is complete.
Step 5: Mount
You can then mount your jewelry organizer in your closet, bedroom, bathroom, or wherever you see fit. Reserve the uppermost knobs for shorter necklaces and bracelets, and the bottom row of knobs for longer necklaces.


