DIY Paper Flower Backdrop
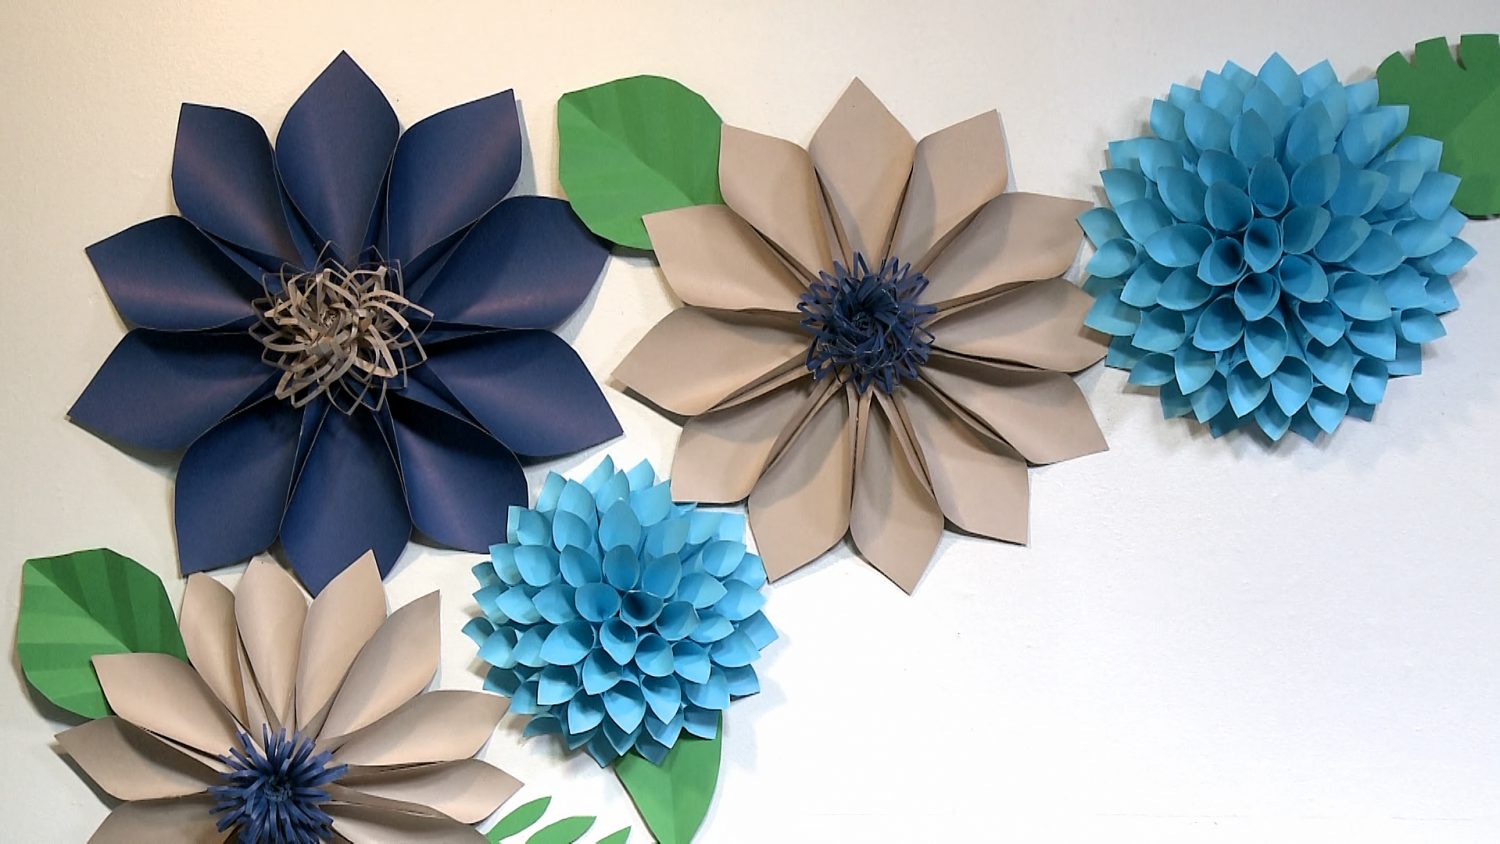
If you want to add a pretty pop of color to your next party, paper flowers are the creative and cost-effective way to go. In this episode of The Marc and Mandy Show, DIY expert Anita Recksiedler shows Mandy how to create a gorgeous flower wall backdrop for weddings and special events.
What you’ll need: 64 pieces of 3.5-inch paper squares (any color), 7-inch circular paper (any color), scissors, glue, glue gun, pencil
Details and Instructions:
- First and foremost, if your paper isn’t already cut to size, cut 64 squares of paper. Then dimensions should be 3.5 inches in each side. TIP Cut a couple extra squares in case.
- Next, cut one piece of paper into a circular shape. Your circle should be twice as wide as your square; so, 7 inches across.
- TIP You can switch up the size of the paper flower by changing the size of the square.
- To begin constructing the flower, draw a circle in the center of your paper circle. The circle should be about 3.5 inches in diameter. TIP You can use a cup, mug, or bottle of some kind to trace the circle.
- To create the petals, roll up your squares, edge to edge. This will give your papers a cylindrical shape.
- Once your papers have taken on a natural roll, crease one side to form a cone shape. Use glue to hold the cone shape.
- Next, return to your circular piece of paper. Fold your circle in half, and then in half again so that creases divide the circle into quarters. Then fold it in half one more time. At this stage, you should have eight creases in your circle when you unfold it.
- Using the creases as a guideline, begin to glue your cones directly onto the creases. After you’ve covered the creases, begin to glue cones between the creases. Repeat this step until your entire circle is covered.







Nice simple idea, cool decor item.