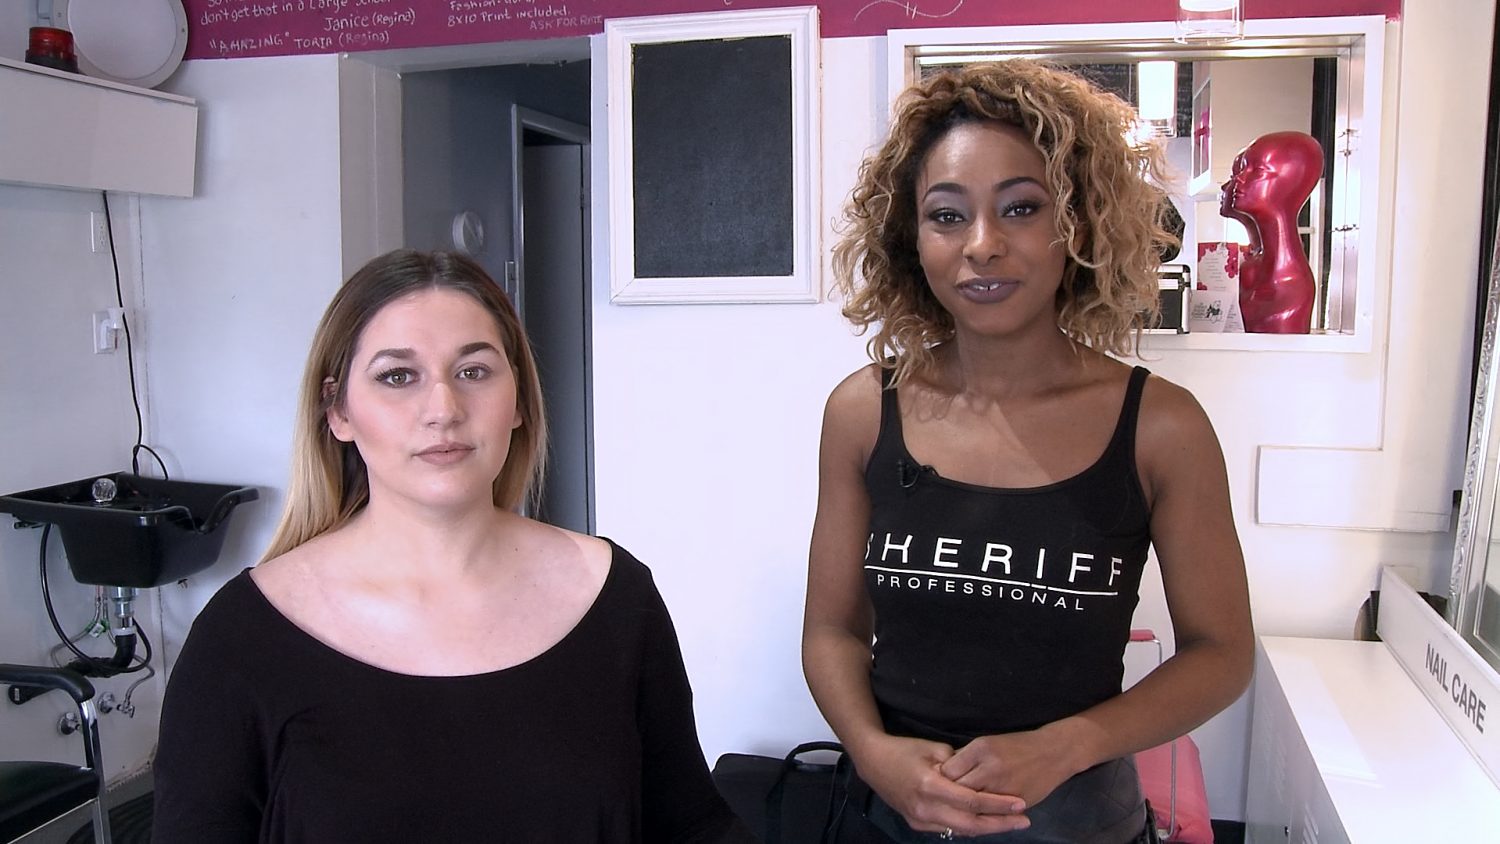
Eye Shadow Tattoos
Are you and your girlfriends in the market for a unique and unexpected way to do your eye shadow? We have just the quick fix for you: DIY-able custom-made eye shadow tattoos! This idea makes putting eye shadow a fast, four-step affair, making it ideal for busy moms, business women, and everyone in between.
Step 1: Gather Your Materials
What you’ll need: a small block of foam, scissors to cut the foam to size, eye shadow, and eye shadow brushes.
Step 2: Configure Your Foam
You’ll want to measure and cut the foam to be around the same shape and width as your eye lid. Increase the width of the foam if you’d like shadow exceeding the crease of your lid, going as high as your brown bone. You then want to apply your desired shadow colors directly onto the foam, with your darkest color on one side, and your lightest color on the other side, to create a gradient effect.
Step 3: Apply
In a stamping motion, gently apply the foam to the eye lid, using extra caution to not move the foam around once it’s on the skin, to avoid smudging. If you do notice some smudging, don’t fret, and proceed to step 4!
Step 4: Clean It Up
Using a makeup remover wipe, gently remove any excess shadow that has ended up anywhere other than desired. You can also use a makeup brush to blend the pigment into the skin if you feel the shadow is too dark or too abrupt.


