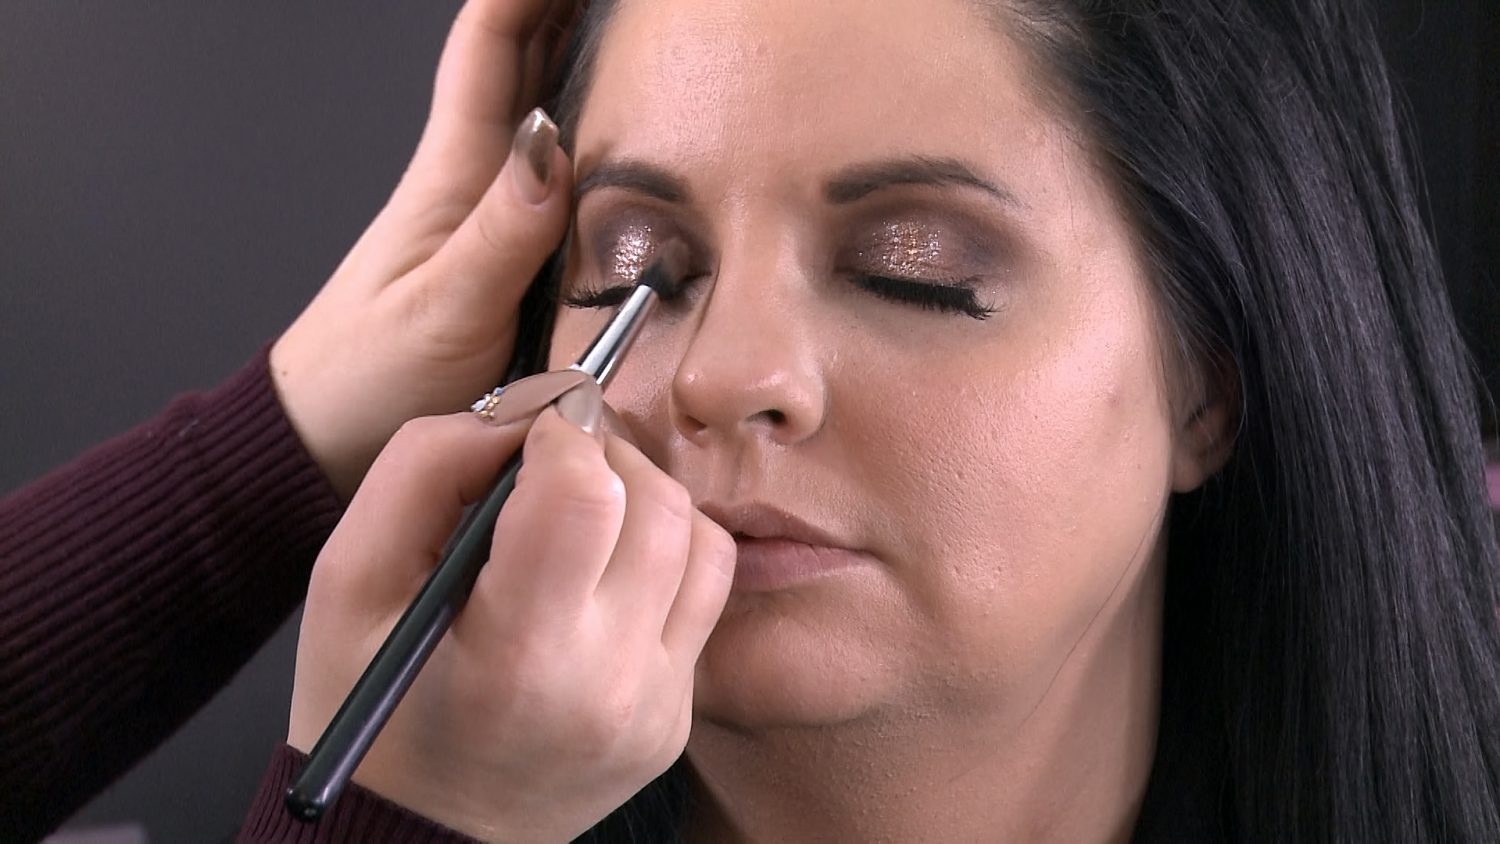
Makeup Tutorial for Creating Perfect Halo Eyes
Vanessa Yang shares a quick and easy makeup tutorial to great stunning halo eyes!
By this point, you might be asking: what the hell are halo eyes? Vanessa Yang, Direction of Noir Cosmetics, answers this question, and shows us how to execute the stunning makeup look.
Step 1: Concealer
To best achieve this look you want first apply concealer specifically to the under-the-eye layer, which tends to darken when we are tired, stressed, and as we age. Color correct with some yellow for best dark circle coverage. Blend in the concealer into the skin as much as possible – and don’t worry if the concealer appears lighter than the skin on the rest of your face.
Step 2: Foundation
Using short taps, stipple foundation onto the rest of the face. This stippling approach will give the face a more airbrushed, polished finish, as opposed to looking caked on, which can sometimes happen as a result of using heavier strokes to apply foundation. At this stage, you can use the foundation to tone down the brightness of the under-eye concealer.
Step 3: Highlighter
Now that you’ve got an even skin surface to work on, you want to focus your attention on highlighting certain parts of the face: the cheekbone areas, down the center of the nose, over the cupid’s bow on the lip, and on the chin and on the forehead.
Step 4: Eyebrows
For this look, opt to use a powder for the brows, as opposed to a gel or a liner. This is because the halo eye look tends to be rather dramatic; as a result, you want to keep the brow look simple, as not to take away from the main attraction: the eyes. When applying powder to the brow, use small, feather-like strokes, following the growth of the hair, to fill in the brow. Yang recommends starting at the arch, and then working your way down to the outer brow.
Step 5: Eyes
Moving onto the eyes, you want to first focus on the crease, which you want to fill with with your first color. Once applied, the color should create a round arch reaching from the corner of your outer eye to your tear duct. Then, use your darkest color and redefine the round arch, which will lend the illusion of depth to your crease. Finally, reach for your lightest color, and apply that right in the center of your round arch. For a slightly more glam look, use a light color with built-in shimmer, using a patting motion to blend the hue into the lid, without compromising the gradient effect that you’ve created.


