DIY Doily Planter
Dear Marc:
I love your column! Your DIY projects are so inspiring! While spring cleaning, I stumbled upon paper doilies. I was going to throw them out, then thought you might know a way to re purpose them.
Melanie
Dear Melanie:
Doilies were once my grandmother’s decorating must-have. They were delicate, fun, and full of character – just as she was. In fact, I remember my mother buying fabric doilies at a flea market in Montreal (Oh how I love Montreal’s flea markets!) and proudly bringing her new purchase home. At the time, I was a disgruntled teenager who thought he was more design savvy than his mother. At the sight of these fabric patterns, I cringed in disgust. “It looks like something Grandma would buy” I stated. Oh to be a teenager! Don’t you wish you could go back in time and just give yourself a slap upside the head and say “wise up”?
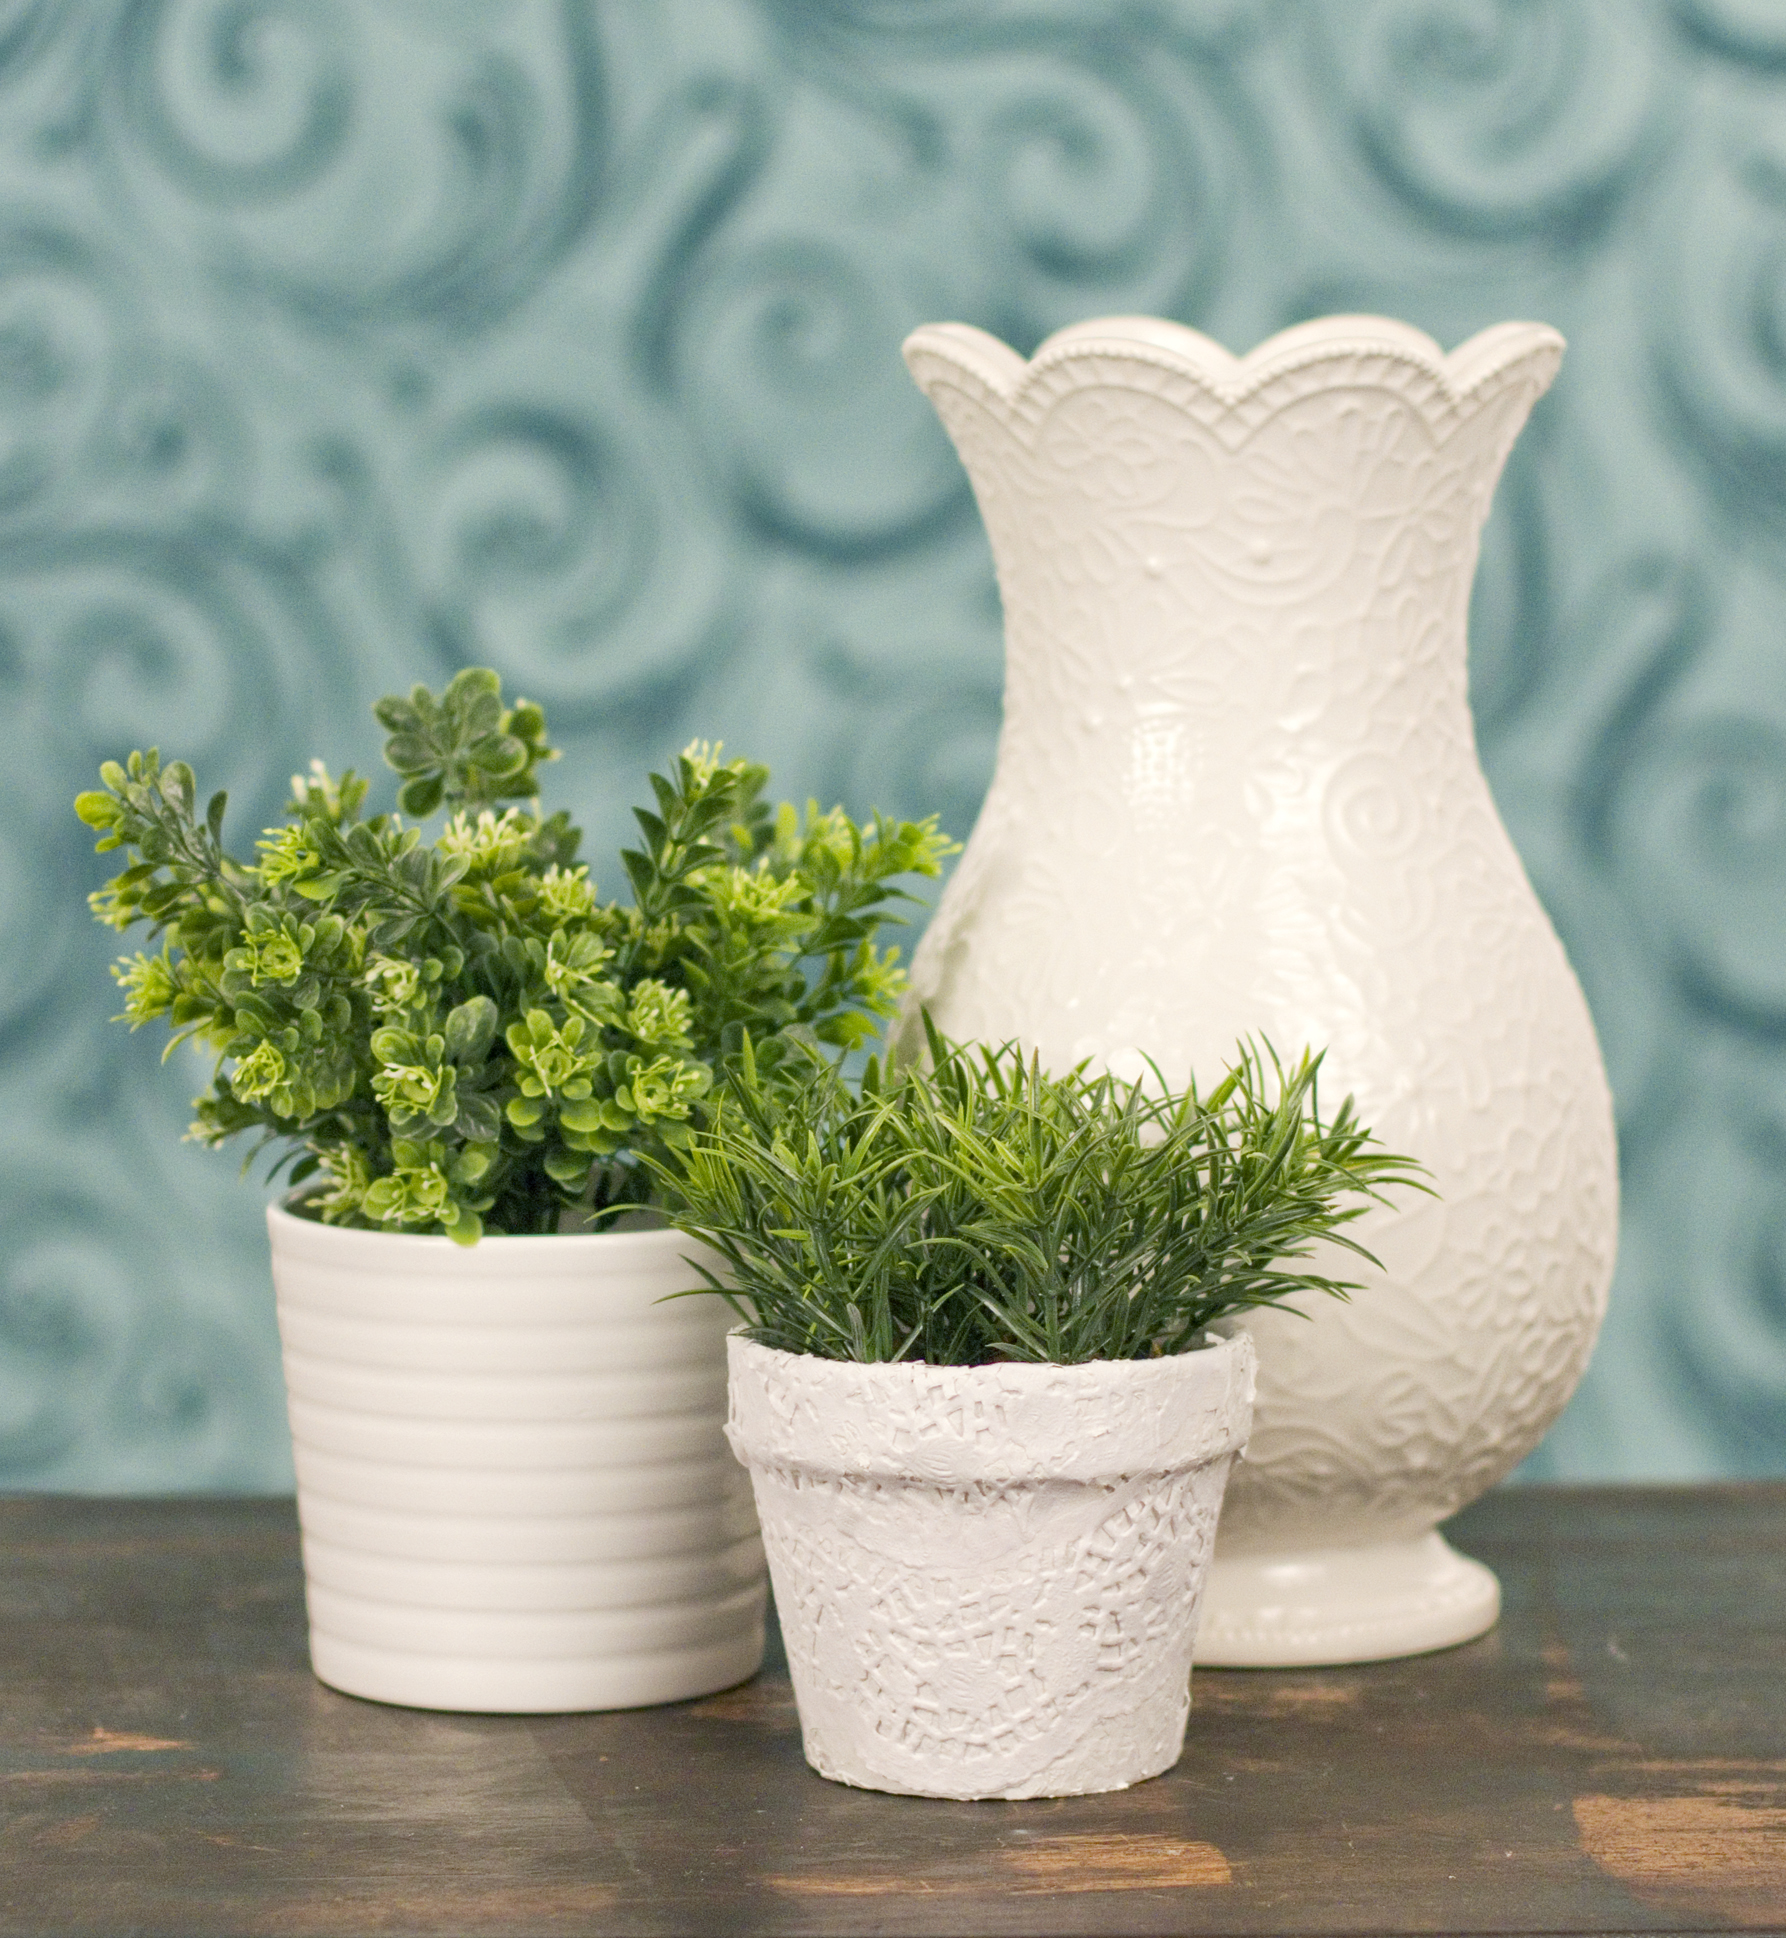
I have come a long way since those adolescent years, and now have an appreciation for these delicate patterns. The pure beauty of these table decor items has always been their delicate nature. Using the art of upcycling, I love to repurpose them to create texture on a decorative planting pot.
Supplies:
– Mod Podge
– Craft Paint Brush
– Small container filled with water
– Paper Doilies
– Scissors
– Krylon White Spray Paint
– Clay Planting Pot

Step 1:
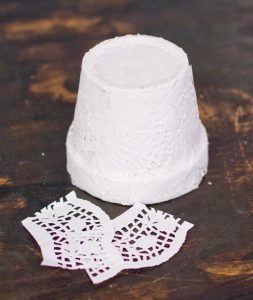
Trim the decorative edge off the doily. Apply Mod Podge glue to the clay pot and glue the cut piece of doily, featuring the pattern, to the side of the pot. Properly adhere the piece of doily to the pot using a brush and watered down Mod Podge. Repeat this step until the entire pot is covered. Let dry.

Step 2:
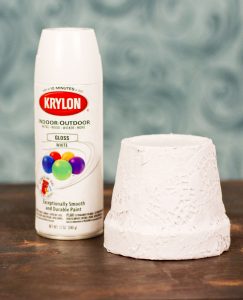
Spray two coats of Krylon White Spray Paint onto the pot. Let dry.

Step 3:
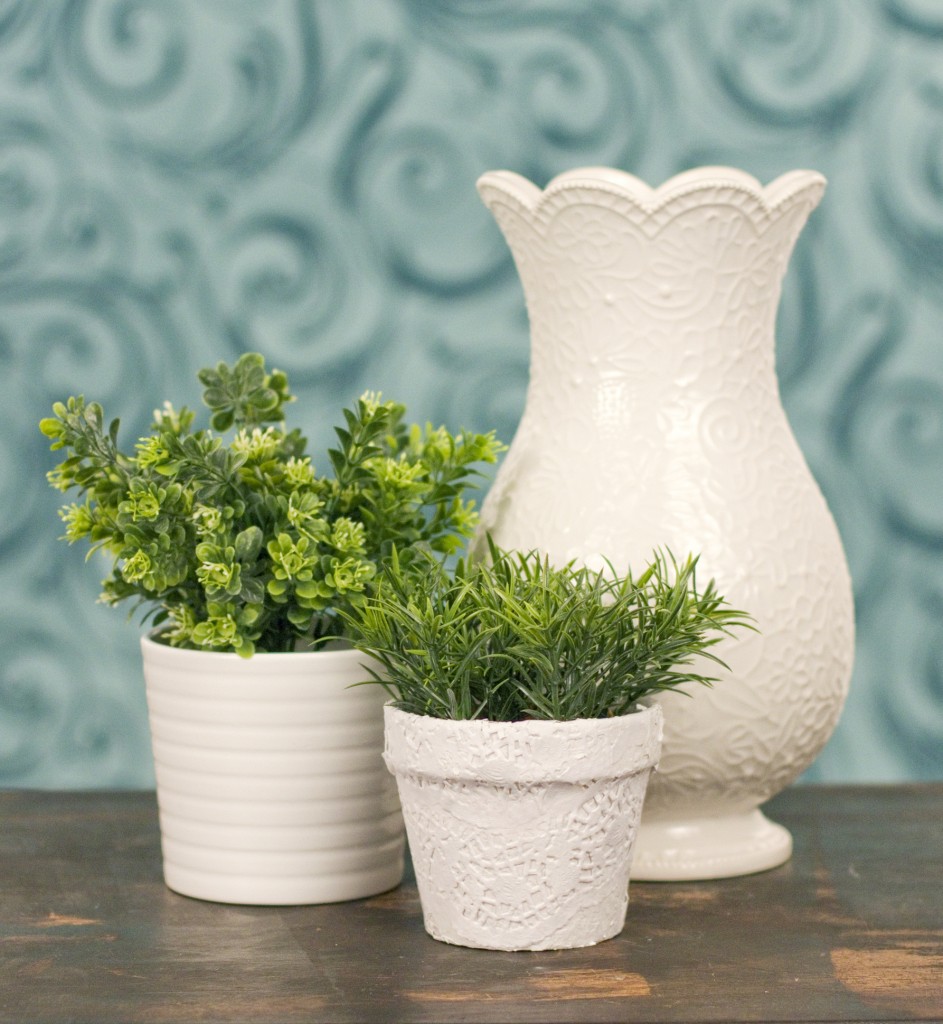
Place a beautiful plant inside the pot and display it in your living room.


1 Comment
Comments are closed.