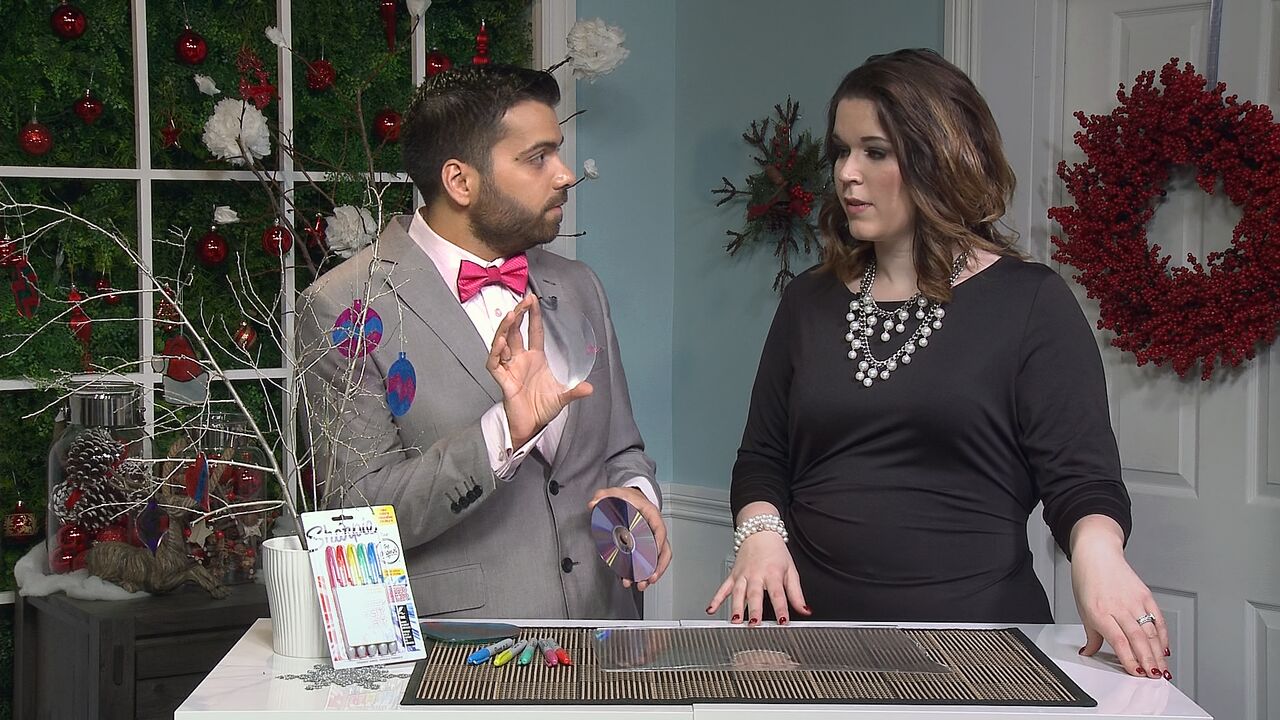
DIY Sharpie Christmas Ornaments
Crafting at Christmastime can be so much fun, especially if you’ve got a holiday-themed DIY (or five) to do with your young ones. Keep reading for a super simple tree ornament craft you can do with your kids.
Step 1: Assemble Your Materials
What you’ll need: Sharpie Color Burst Markers, recycled plastic sheet, CD (to trace), scissors, a hole punch, string or wire.
Step 2: Trace and Cut
Using your CD, trace a circle directly onto your piece of plastic. From there, you can cut the circle out. TIP: If you’re working with young children, you may want to perform this step yourself, and simply provide them with the per-cut circles to color.
Step 3: Color
Color your plastic disc on both sides, encouraging your little ones to get creative, using plenty of colors and patterns. Then use your hole punch to make a hole on one end. This will be where you thread your string or wire through prior to displaying it on your tree.
Step 4: Bake
Bake you creation in the oven at 325 degrees Celcius for about a minute, making sure to keep a close eye on it. Your craft should get smaller and thicker after baking. Once it’s cooled, you can then thread your string or wire through the hole you made in Step 3.
Step 5: Experiment
Think: Santa hats, gingerbread men, string lights – any shapes that remind you and your family of the holidays.
For more holiday crafts and decor-related DIYs you can make on your own or with your children, be sure to explore the Marc and Mandy website.


Sharpies are great for Christmas crafting 🙂