How to Create a Holiday Tablescape

Dear Marc:
I’ve always wanted to learn how to make those amazing Tablescapes I see in magazines and department stores. I can never seem to get the right look. Help!
Megan
Dear Megan:
The holiday season is upon us and Christmas is just around the corner. While we reminisce of wonderful past Christmases spent with family and friends, the hope of creating new memories is in the air.
One holiday tradition is entertaining loved ones at home. Although a lot of planning and preparation is required for hosting get-togethers, one must remain stress free to keep energy for the evening event. During preparations, one of the daunting tasks is decorating the Tablescape for the main event.
The menu is selected, the china is taken out of storage and culinary dishes are carefully prepared. Table decorations are unpacked only to realize that they’ve suffered one too many years of wear and tear. Relax because I have a great solution for you!
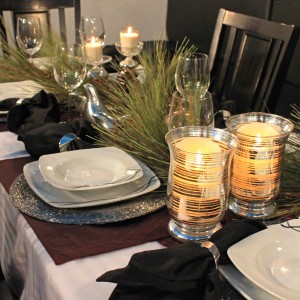
Decorating a holiday Tablescape is an expression of colour and texture, mixed with different elements. Each Tablescape starts its journey with a single step, the base. The base can be a table runner or a garland. Garlands are a great way to create a fluid line across the table that can be tied into patterns on plates or chargers. They also add a sense of nature to the scape which grounds the design.
Building a Tablescape can be easily achieved by following these simple steps:
Step 1:
Choose a colour scheme that fits well with the room’s colour palette and table style. Whether the space is modern or traditional, one must continue this theme into the Tablescape. First, lay a silk runner in the centre of the table.
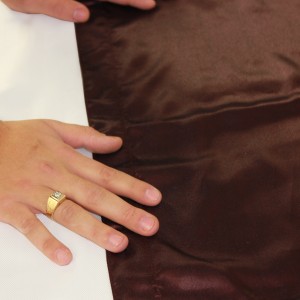
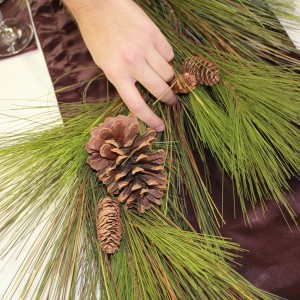
Step 2:
Lay the garland over the runner in the shape of an `S`.
Step 3:
Add little ornaments and small accessories within the garland. Great Tip: Don’t place all of the pieces so that they are clearly visible from every seat at the table. Each table guest should have a completely different view and experience of the Tablescape.
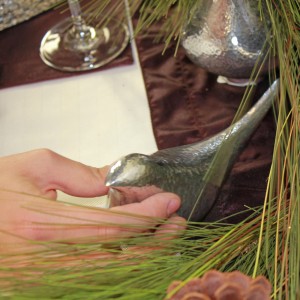
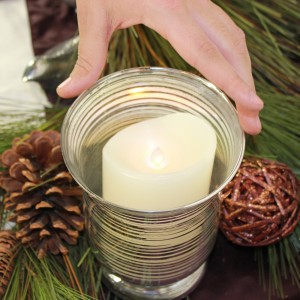
Step 4: Throw the rules of symmetry out the window. Place both candles on one side of the scape as opposed to balancing them on each side. To offset the visual weight, place different candle holders on opposing ends. Great Tip: When decorating for a Tablescape, never purchase pieces more than fourteen inches in height. Anything higher will obstruct the view of your guests from one end of the table to the next.
Step 5:
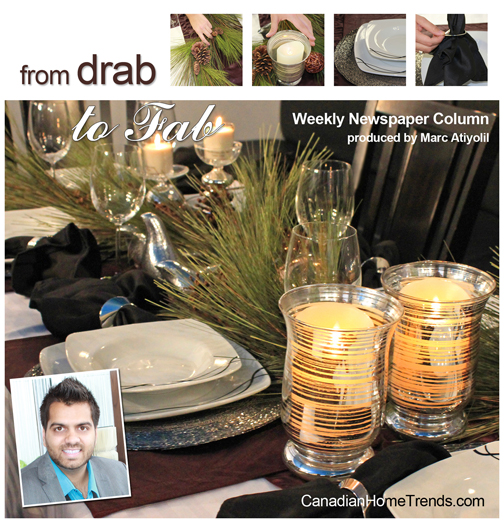
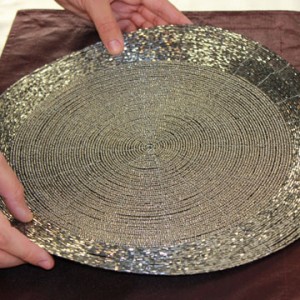
Match placemat colour with runner. Add charger plates such as the beaded piece seen in the images for a more formal look. Great Tip: Always use placemats when building a Tablescape because if your guests spill food, you can simply wash them as opposed to having to tear down the entire Tablescape to wash the tablecloth.
Step 6:
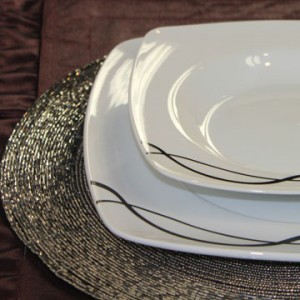
Place the plates and soup bowls onto the chargers.
Step 7:
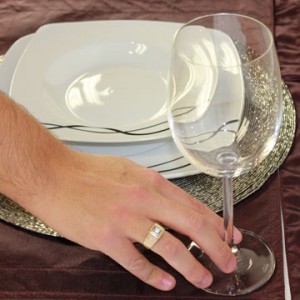
Place wine glasses on the top right hand corner of the place settings.
Step 8:
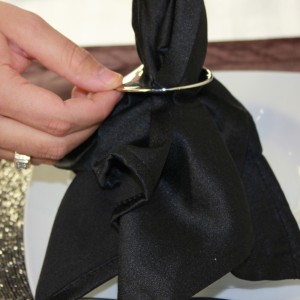
Funnel cloth napkins through napkin rings. Place the napkins onto the side of the setting with the tops tucked under the bowls.
Step 9:
Pour yourself a glass of wine. Listen to holiday music and enjoy!
Drab to Fab Tip of the Week: Flea market finds make great Tablescape accessories. Old charger plates can be painted to look new again and a table runner can be created by painting and stenciling an unused straw beach mat.
Marc Atiyolil, celebrity designer and home trend expert is the Editor-in-Chief of Canadian Home Trends Magazine, and the host of the Marc Atiyolil Show – www.MarcAtiyolil.com. Season 2 airs weekly starting in January 2012.
To submit a question for Marc Atiyolil, visit www.CanadianHomeTrends.com
COPYRIGHT 2011 – CHT Media
