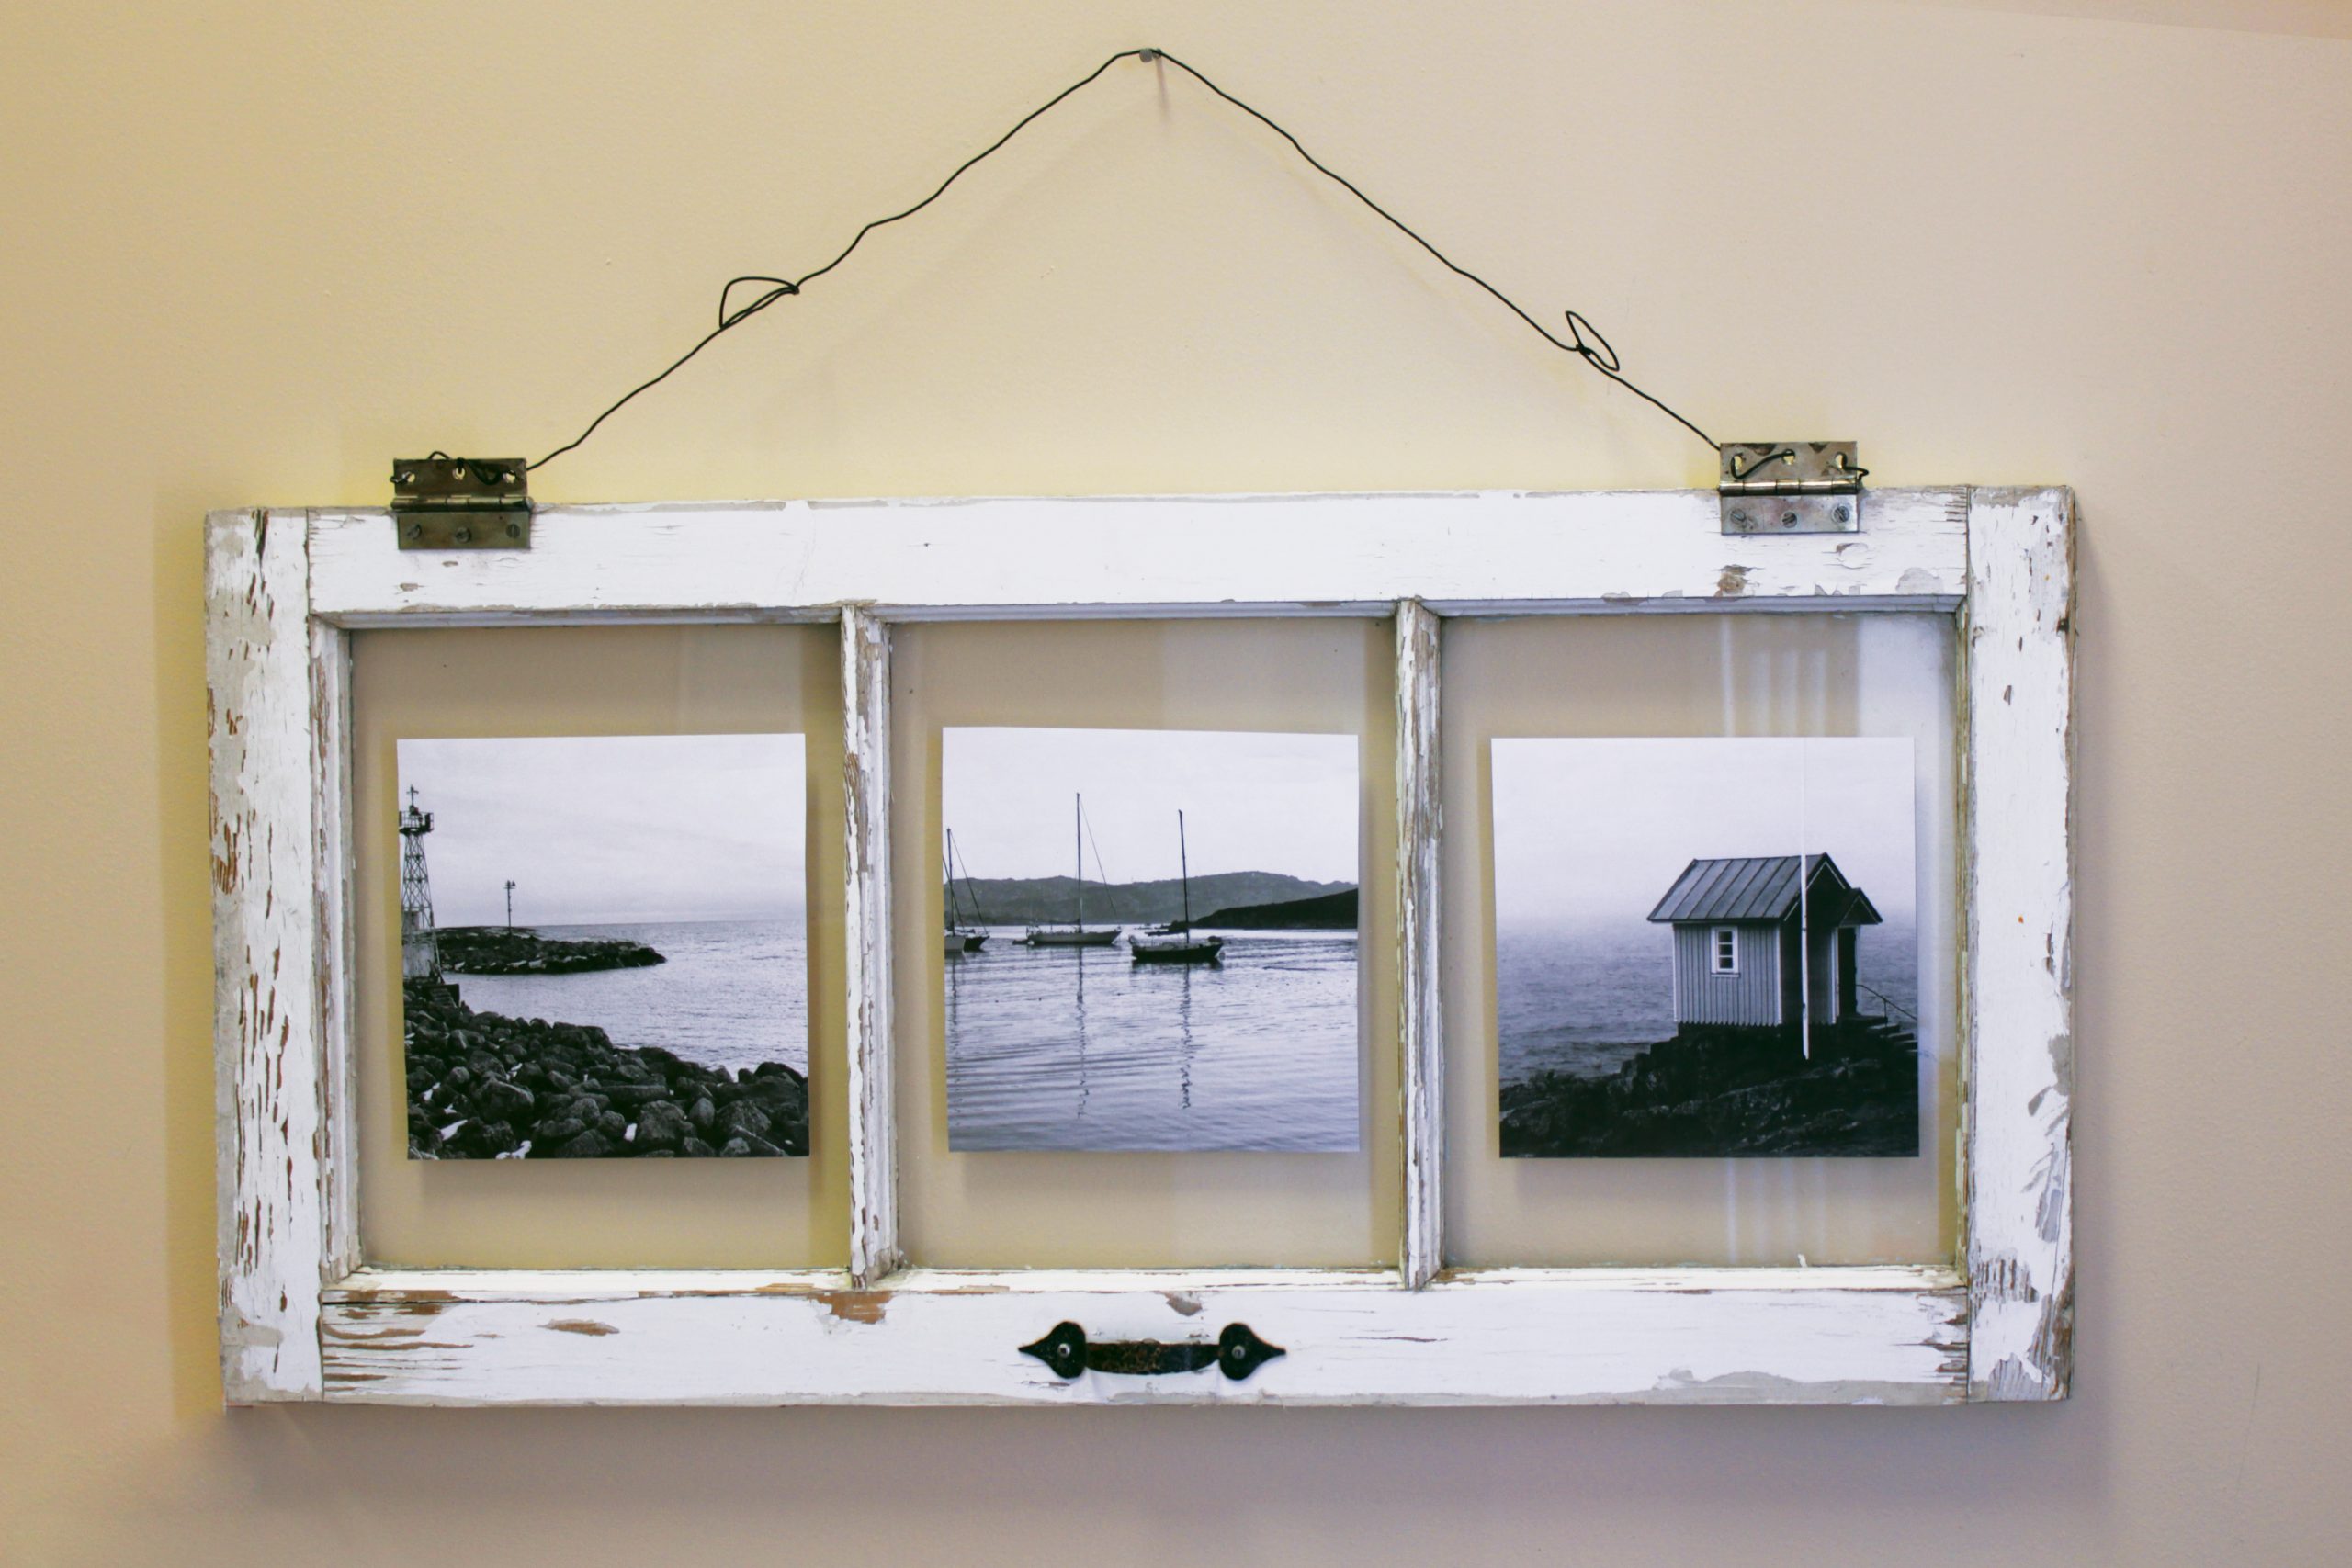
DIY Vintage Window Pane Photo Frame
Dear Marc:
We restored an old house and replaced all the old Victorian pane windows with new energy efficient windows. I’m left with a stack of antique windows and it would be a shame to get rid of them! Do you know of any projects that use and repurpose vintage windows?
Emily
Dear Emily:
I attended a beautiful wedding this summer and saw a great DIY project using vintage single pane windows. It was the wedding of our dear friends, Serge and Kayla. It was a beautiful reception and designed in a style that could only be described as rustic meets elegance.
As we were greeted at the door, we were then directed to seating charts framed in a vintage window. As usual as soon as the piece caught my eye, my “design wheels” started spinning. It was a brilliant and exquisite idea! Although, the big question was “how could I repurpose this idea and use it in the interior of a home?”
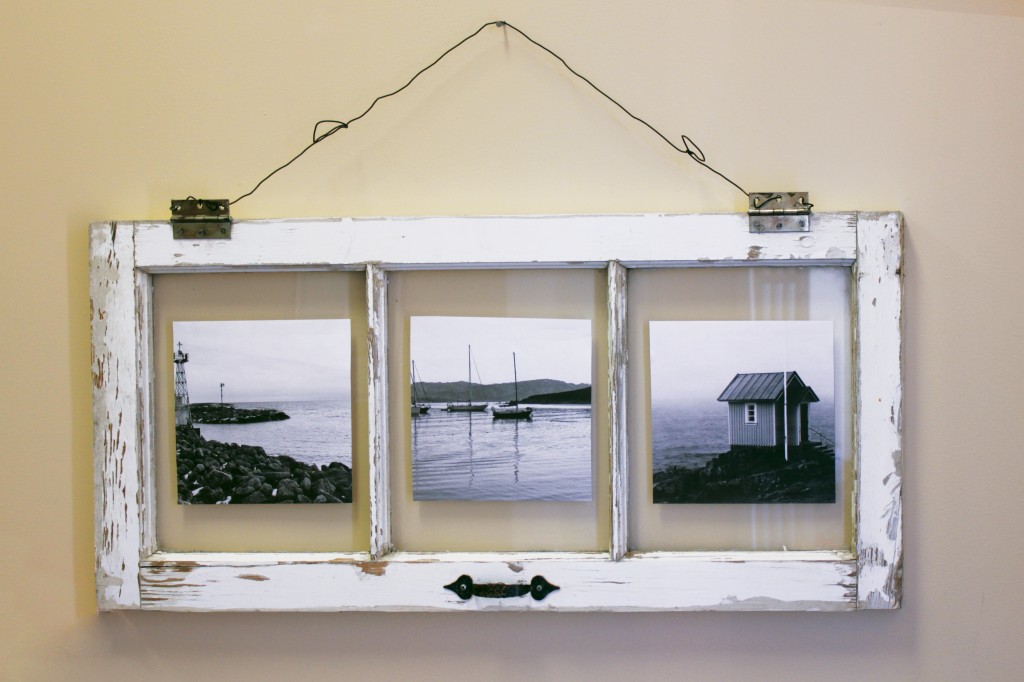
That same weekend, I hunted for vintage windows. I found a few at a flea market and came up with this great vintage wall hanging project.
Supplies:
– Single pane vintage window
– Black and white photos
– Double-sided tape
– Wire
Step 1:
Print black and white photos in the size of your choice.
Step 2:
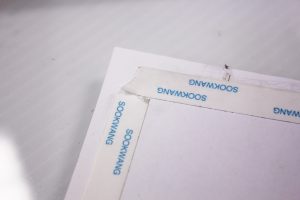
Using double-sided tape, adhere the photos to the glass.
Step 3:
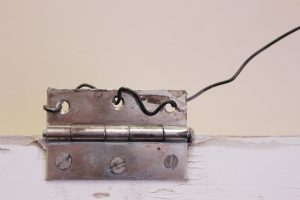
Attach a piece of wire to the window’s existing hinges and have the wire run along the top of the frame.
Step 4:
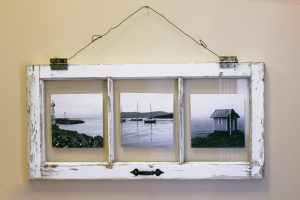
Voila, your old window has been transformed into a stunning wall hanging!





Do you not see double sided tape? I only have 1 piece glass in my frames.
Hello Tracy, Thank you for your question. You could either adhere the images to the front of the glass rather then the back to hide the tape or, if you prefer to have it behind the glass, you could use a glue dot instead of double sided tape. A glue dot would be somewhat less visible.