Repurposed Wine Crate
Dear Marc:
I have a beautiful rustic home on the outskirts of the city. We have a bar area downstairs adjacent to our family room. I would like some extra shelving without installing the regular pressed board with “L” brackets. I find those ugly! Do you know of a creative way I can have shelving that would go with the style of my house?
Janet
Dear Janet:
Organizational skills. This seems to be a life-long struggle for most of us. We never have enough shelves or storage to store our valuables, and who wouldn’t love a little more closet space or better shelving? For instance, my wife pointed to our closet the other day and said “Honey, do you see something wrong with this closet?” At first glance I replied, “I don’t think so…” Although, after taking a closer look, I realized that my wardrobe was taking more than seventy percent of our closet space, and her favourite dresses were crowded together and gasping for air. I thought to myself, “When in the world did I accumulate so many clothes?”. I had my work cut out for me.
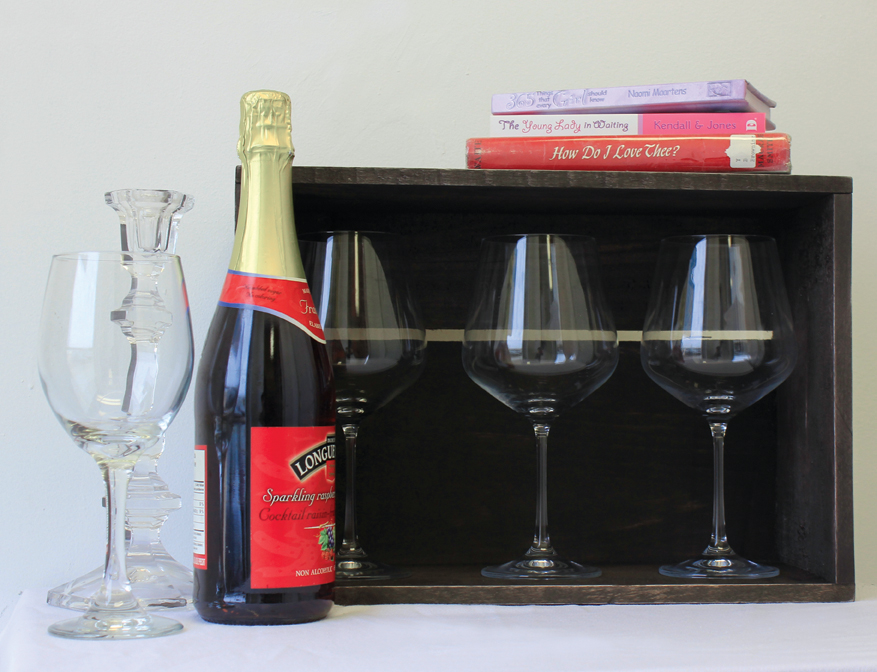
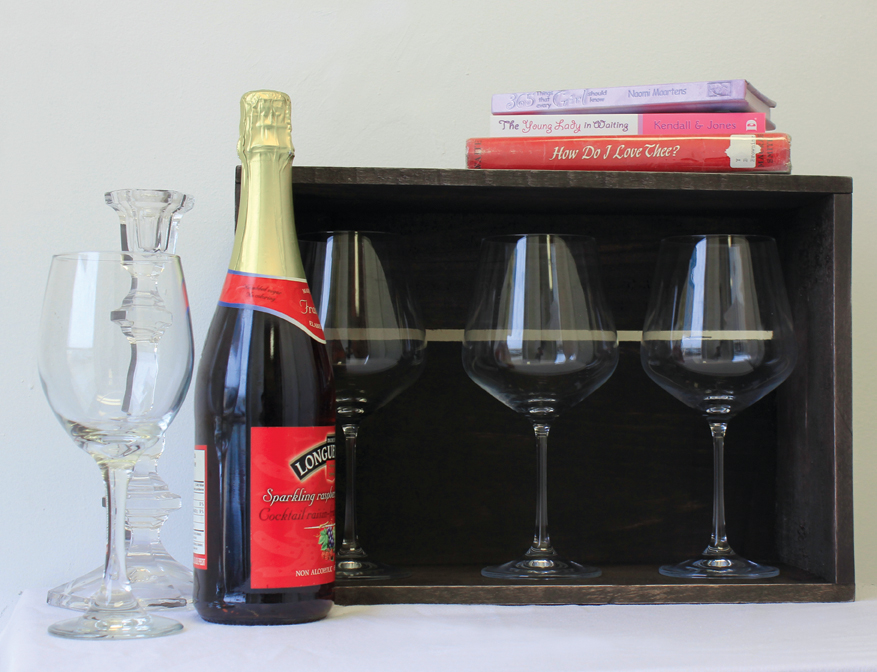
In my quest for organizational sanity, I have found that one of my favourite organizational tools to use in a closet are small wine crates. Now, I know what you must be thinking, “This has closet drinker written all over it!” But, it’s a chic way to turn those extra shelves into drawers to store your more delicate belongings. This is a great project for those looking to organize a closet, but even better yet for those with rustic living spaces. These boxes look fantastic hung on the wall, or stacked on a surface to create shelves. For a bar area, they are exceptionally chic as they offer the wine connoisseur conversation pieces in an otherwise plain and sterile environment.
Supplies:
Crate(s)
Stain
Sealer
Paint Brush
Sand Paper
Gloves
Step 1:
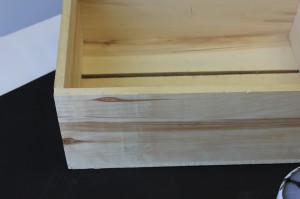
Put on those lovely latex gloves! I once skipped this step and forever regretted it as I had to do television the next day with stained cuticles. No close-ups please! Sand the box inside and out.
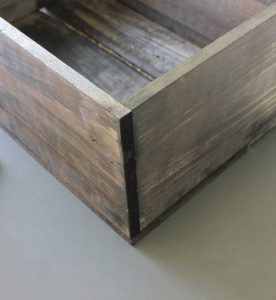
Step 2:
Using a brush, stain the entire box. Let dry and apply clear protective coating to protect the new stain.
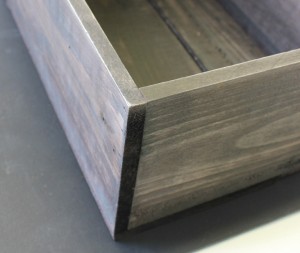
Step 3:
Create a rugged look by sanding the edges of the box. This creates the illusion of wear and tear, which suits the rustic style
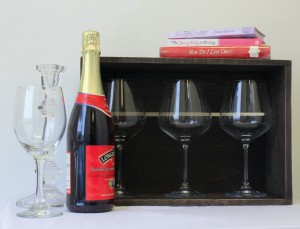
Step 4:
Hang or place your new storage shelf in your bar area and enjoy!


