
Vintage Chic DIY Designer Tool Box Project
Dear Marc:
I’m a big fan of your work. The new drab to fab projects are great! I’ve heard designers say that it’s good to have some basic tools around the house, but I don’t have a lot of storage in my condo. My closet space is full of clothes and shoes, so I don’t know where to store my tools. I bought a basic tool set and it came with a tool box. Since I don’t have a place to store the tool box, it just sits in my living room. Do you have any ideas as to how I can camouflage my tool box?
Margaret
Dear Margaret:
Storage is a rare commodity in some older homes and condos. Saturday morning cartoons have built up our hopes that we can stuff all our extra belongings into a single, tiny closet. Then one day, the door opens and everything pours out onto the floor. Of course in reality, the “clown car effect” doesn’t work for closet space. Therefore, it is of utmost importance to maximize storage space within unconventional items such as furniture and accessories.
Multi-functional furniture like sofas and ottomans with built-in storage bins are a perfect way to maximize storage capacity. Another great tip to camouflage the storage of excess items is to repurpose boxes. For instance, traditional tool boxes are usually awful looking, bright coloured, plastic or metal containers that rarely fit into a designer space. But not to worry, there are creative ways to transform designer tool boxes by taking vintage boxes and repurposing them. Once refurbished, the box can be placed as an accessory in any room.
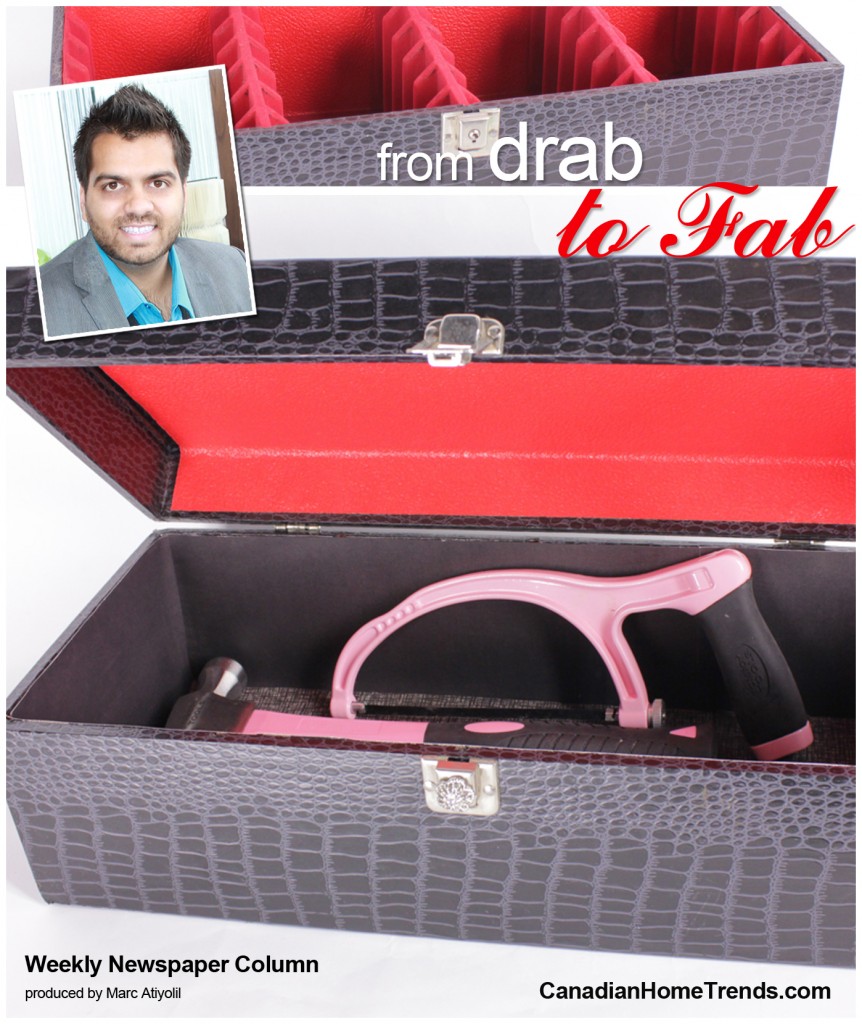
This project will transform a vintage black reptile print, 8-track tape box into a designer tool box using a few supplies.
Supplies needed for the Vintage Tool Box Project:
– Old box (any finish and size)
– Earrings
– Glue gun
– Sheets of scrapbook paper
– Scrapbook double-sided tape
Step 1:
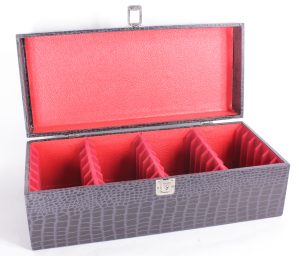
Look for the perfect box to repurpose into a designer tool box. Flea markets and goodwill stores are great spots to locate supplies for repurposing projects. Marc’s Tip: Be sure to purchase a case in an appropriate size so that your tools will lie nicely inside the tool box.
Step 2:
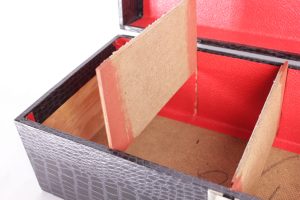
Once a box has been selected, remove any separators found within the case.
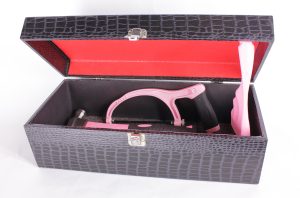
We selected a vintage black reptile print 8-track tape box and by removing all separators, we created a large open area.
Step 3:
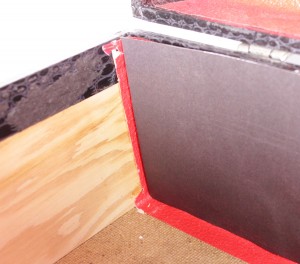
Cut pieces of scrapbook paper to the size needed to refinish the inside of the box. Use double-sided tape to glue the paper to the box.
Step 4:
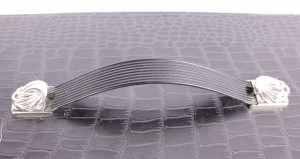
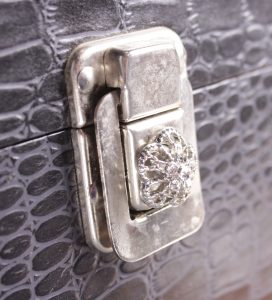
Add a little pizzazz to the new tool box with old clip-on earrings. Remove the clip from the earrings. Using a glue gun, adhere one earring atop each chrome edge of the box’s handle.
Step 5:
Voila, you now have a designer tool box that can be stored in any room without anyone ever knowing.
Marc Atiyolil, celebrity designer and home trend expert is the Editor-in-Chief of Canadian Home Trends Magazine, regular contributor to CTV and the host of the Marc Atiyolil Show on www.MarcAtiyolil.com. Catch Season 2 every Thursday at 2pm.
To submit a question for Marc Atiyolil, visit www.CanadianHomeTrends.com
COPYRIGHT 2012 – CHT Media


