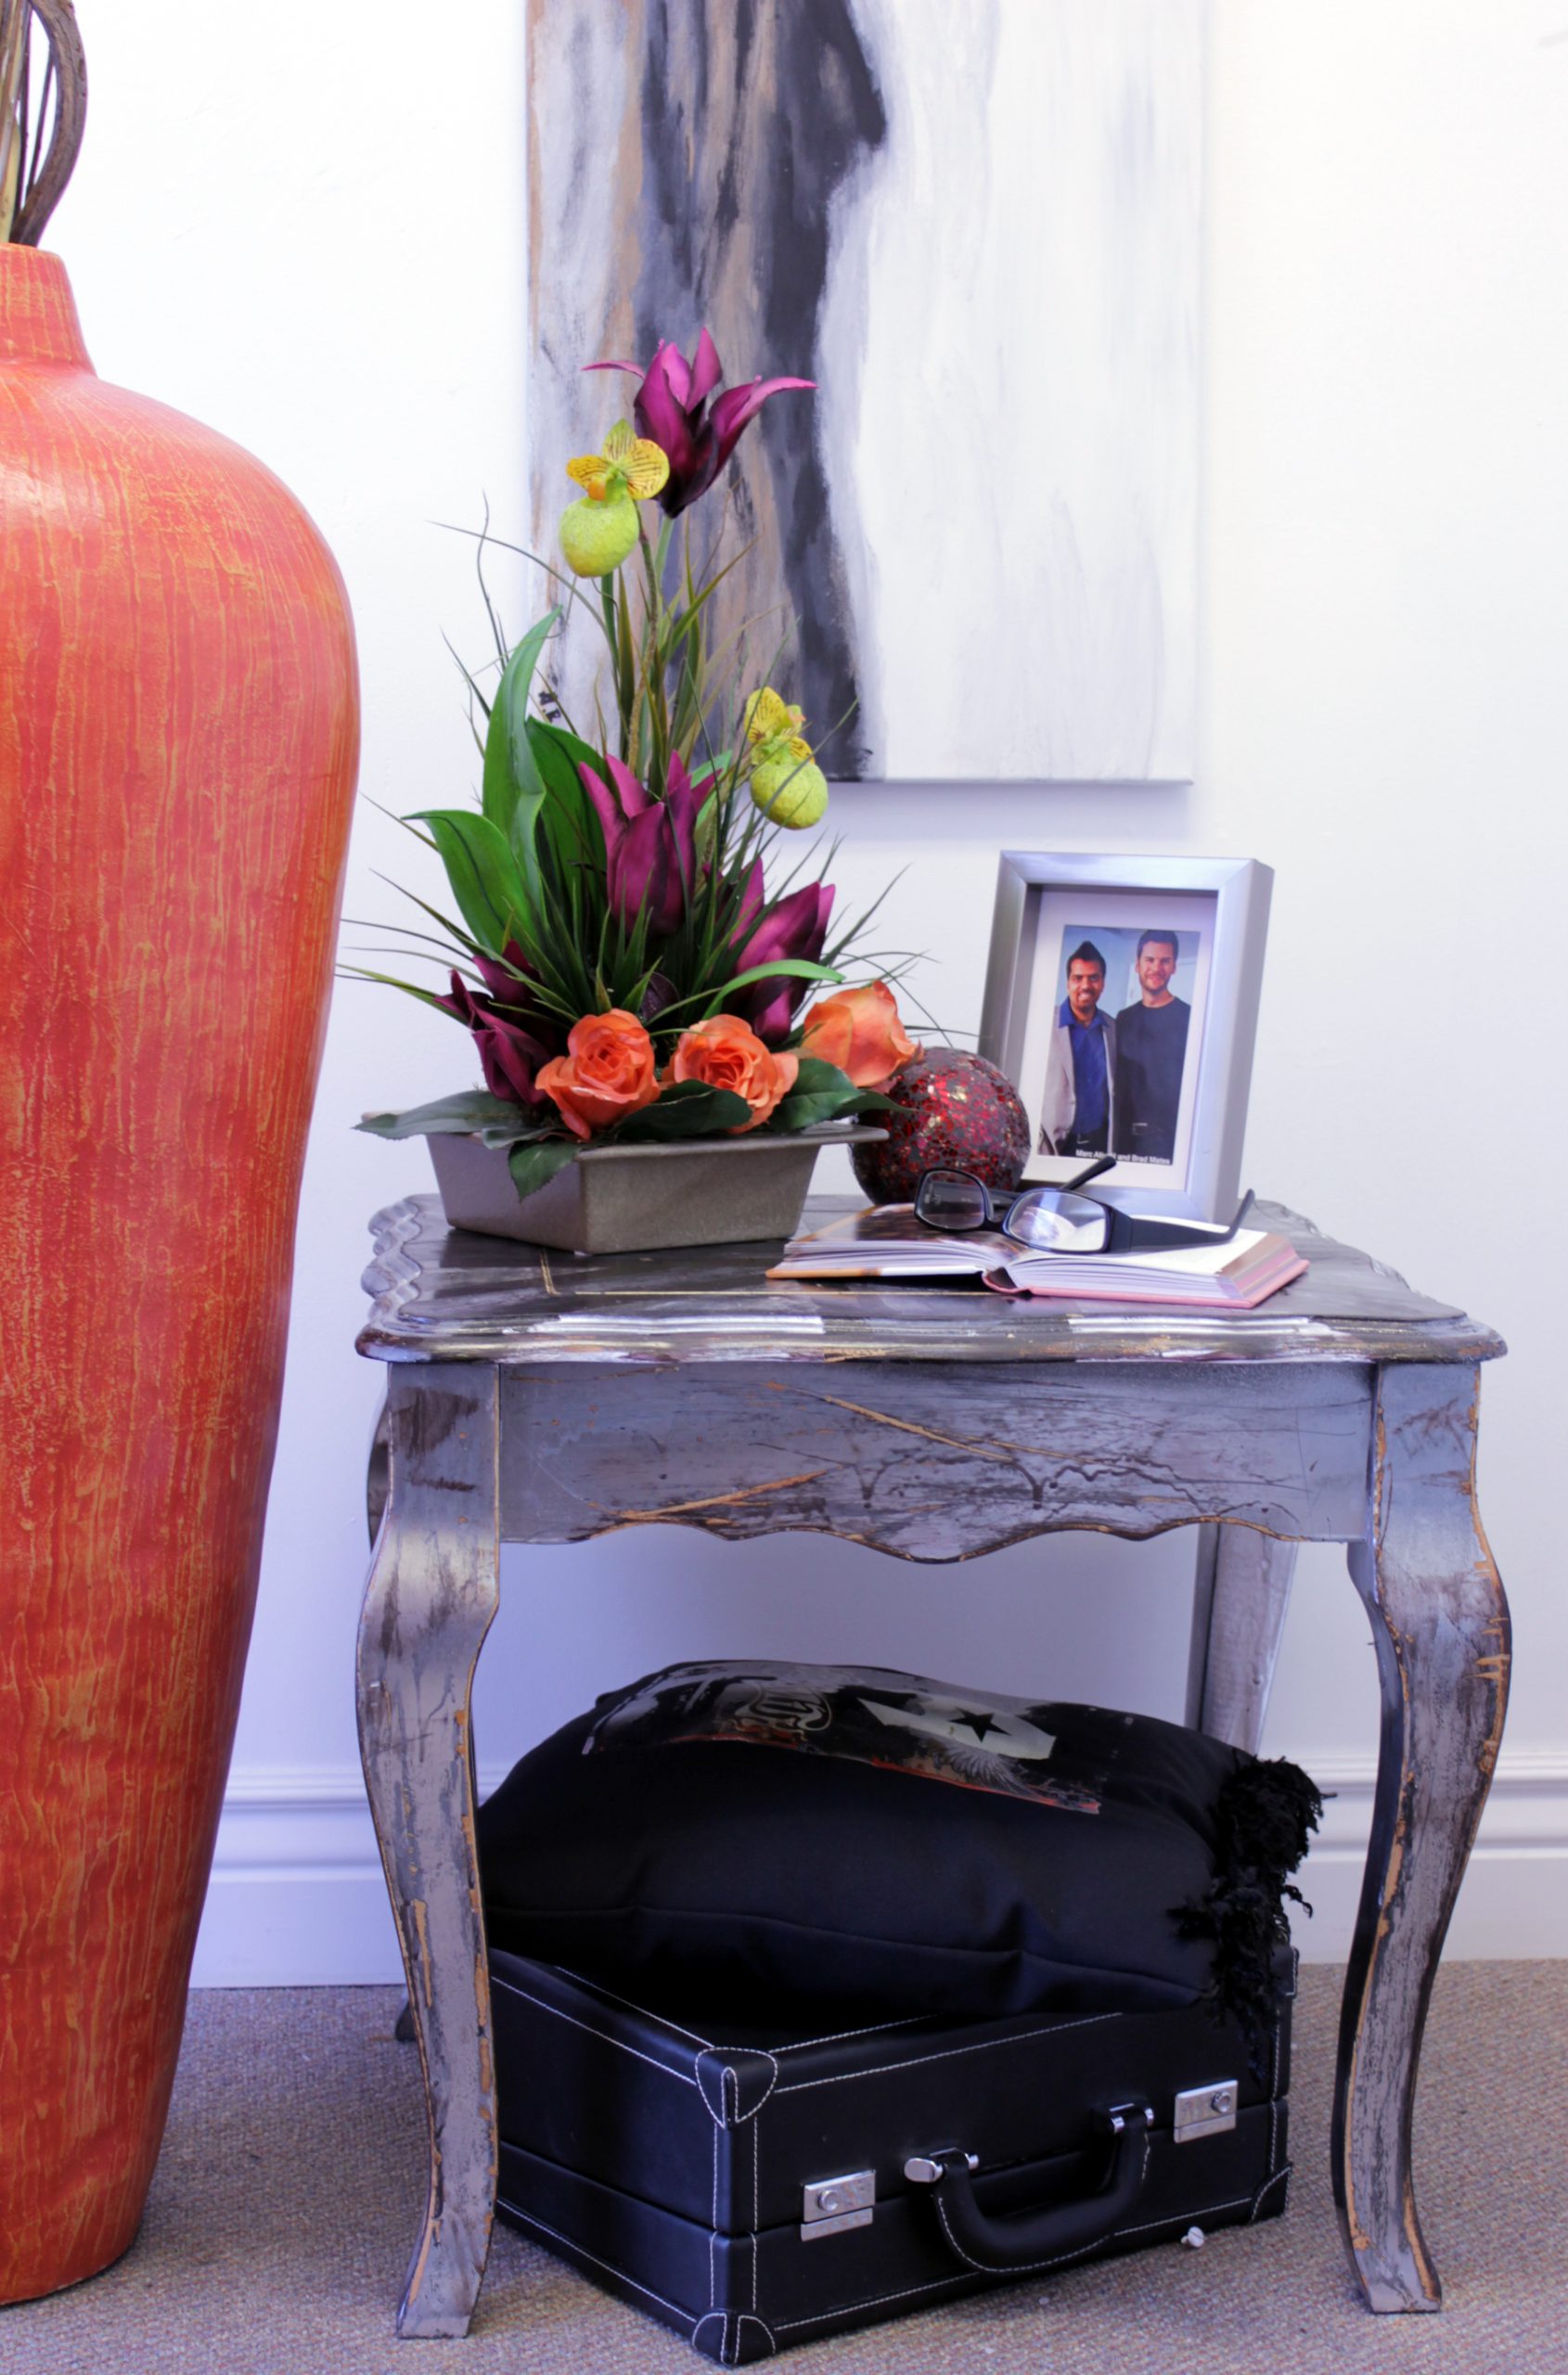
DIY Union Jack Side Table Project
Dear Marc:
While shopping, I often notice many Union Jack and London designs that look hot! It seems that this is a big trend for 2012. I’ve just recently decorated (last year), so I’m not prepared to spend a lot of money on buying new furniture with the Union Jack motif on it, but it would be nice to refinish one of my side tables in a Union Jack design. I want to make sure that I do it right so that I don’t wreck my table. Do you have a quick and easy step-by-step project for a London side table?
Vivian
Dear Vivian:
I’ve been following the London trend like white on rice! My obsession started when I ran into two beautiful fire truck red traditional chairs that were sporting the Union Jack pattern on both the back and arms. It was love at first sight and I had to have them.
I had them shipped from halfway across the country in preparation for a segment for CTV. On a sunny Friday morning, the phone rang. It was the shipping company. The truck carrying the shipment had been in an accident! My heart stopped. “How are the chairs?” I inquired in a quivering voice. The dispatcher sighed, “They didn’t make it”. At that moment, I swallowed what felt like my heart. It was the death of my Union Jack chairs.
After a few days of mourning, I picked myself up by my bootstraps. I decided take my passion for Union Jack into my own hands and a vision for a table was born.
My vision became a reality when I took an ordinary side table and turned it into a London-inspired dream.
The following supplies are required for this Union Jack Side Table Project.
– Table
– Chrome Paint
– Black semi-gloss paint
– White semi-gloss paint
– Golden scrapbook distress ink
– Brown scrapbook distress ink
– Scraper
– Painter’s tape
– Paint brush
– Sponge
– Sandpaper
The Side Table Before:
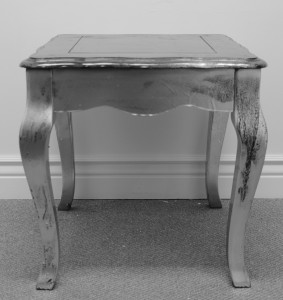
The Side Table After:

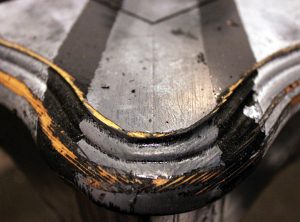
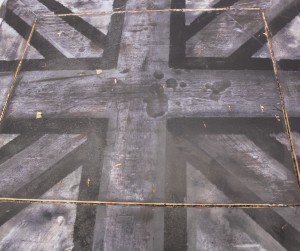
Step 1:
Sand the table. Paint the legs chrome and the table’s surface black. Wait until the paint dries before continuing to the next step.
Step 2:
Create the Union Jack logo with painter’s tape. Paint the small side triangles using white and the cross using black.
Step 3:
Once the paint dries, distress the Union Jack pattern using scrapbook ink. Apply sporadic layers of black, brown and gold distress ink to the edges of the pattern.
Step 4:
Distress the legs using a scraper. Scratch all of the table edges to create wear and tear. Scrape the paint in a vertical fashion.
Step 5:
Distress the legs using scrapbook ink. Use a sponge to blend the inks together. Tip: There is no rhyme or reason as to how to apply the ink. Simply layer the colours in a natural manner.
Step 6:
The Union Jack table is born and the piece is ready to integrate into your home design.







I love the distressed finish and the monochromatic colours. Great side table! Shipping furniture gives me nightmares. Sorry to hear about the chairs.
I have been using distressed inks and they are wonderful.
Mary