Turn An Old Mirror Into A Weekly Planner
Dear Marc:
I have a decent size mirror that was given to me by my mother. The mirror is a little ornate and kind of ugly. I don’t want to hurt her feelings by throwing the mirror away or donating it to a thrift store. Any ideas of how I can make it look nice?
Alison
 Dear Alison,
In the world of design, it has been said, “Family heirlooms bring character and charm to any room.” Although in reality, some of our parent’s old heirlooms look run down and hideous, pieces that one wouldn’t let within 50 yards of their home. Yet, we have all had those awkward moments of trying to get out of being given a family heirloom that looked “ok” in mom’s traditional living room but would stand out like a sore thumb in our designer living rooms. What does one say in this situation? We all know the giver will be expecting to see it when he or she comes over for a visit, therefore sticking it in the back closet is not a viable option.
On the other hand, we can’t tell our mother that her mirror is awful as it is her pride and joy. We’d never hear the end of it! Besides, no woman wants to be told that her style is outdated, no matter what her age.
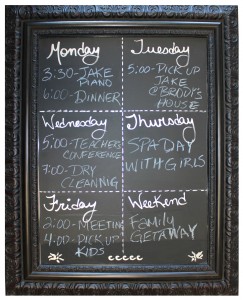
The wonderful thing about fashion and design is that pieces can be reused simply by making slight modifications. In this situation, an old mirror can be transformed and repurposed into a trendy week planner.
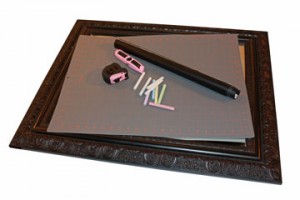 The following supplies are required for the Week Planner Project:
– Old mirror
– Painter’s Tape
– Paint (colour of your choice)
– Paintbrush
– Sandpaper
– Primer
– Measuring tape
– Self adhesive blackboard
– X-Acto knife
– Silver leafing pen
Step 1:
A fresh coat of paint on the mirror frame may be required depending on the severity of wear and tear. If you like the look of the existing frame, skip to step 3.
The frame must be sanded and primed prior to applying the first coat of paint. With the use of sandpaper, gently sand the entire frame and apply painter’s tape where the mirror and frame meet to protect the mirror from paint damage. Prime the frame, being sure to cover all cracks and crevices. Wait until paint dries before moving onto the next step.
Step 2:
Apply two coats of paint to the frame. Great Tip: When shopping for paint to use in a decorative accessory project, always purchase semi-gloss paint. This will simplify the cleaning process of the finished product.
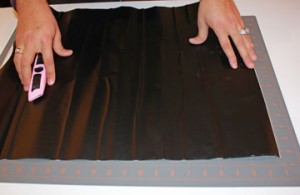
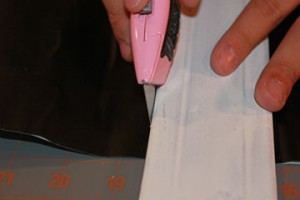
Step 3:
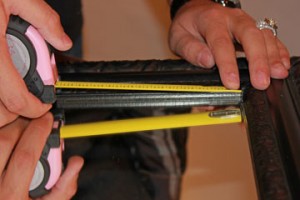
Measure the mirrored surface of the piece and take note of the measurements. Unroll the self adhesive blackboard and mark the noted size with a pencil. Cut the self adhesive blackboard to the appropriate size using an X-Acto knife.
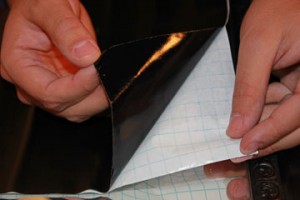
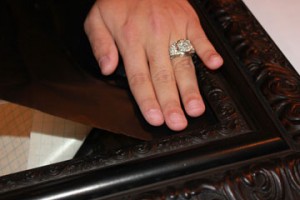
Step 4:
Peel the backing of the self adhesive blackboard and apply the blackboard to the top right corner of the mirror. Great Tip: When applying blackboard to a mirror, work in a clockwise fashion by wiping the surface with a cloth to help eliminate bubbles and air pockets.
Step 5:
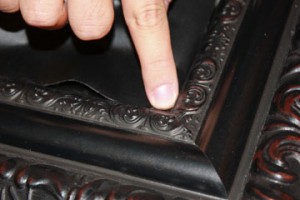
Use your finger to apply the blackboard in the corners and sides of the frame.
Step 6:
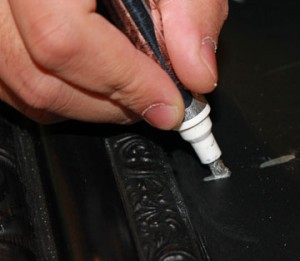
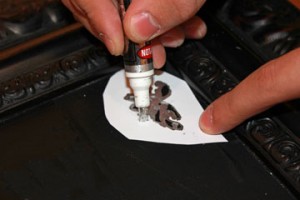
Measure the width of the new blackboard surface. Draw a line in the middle of the board with a silver leafing pen, then measure the height of the board and draw two lines that separate the height of the board into three sections. Add a little stencil design with the leafing pen at the bottom of the board for visual interest.

Step 7:
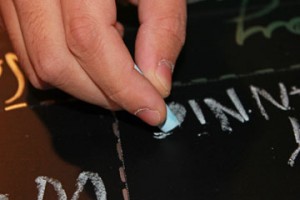
Each of the six new cells have now become a day of the week in the week planner with the sixth allocated for weekend activities. With the silver leafing pen, write the days of the week at the top of each cell.
Step 8:
Now come the final touches. Write weekly activities and “to do’s” for the following week and hang the new blackboard week planner in a visible area. Enjoy!
Marc Atiyolil, celebrity designer and home trend expert is the Editor-in-Chief of Home Trends Magazine, and the host of the Marc Atiyolil Show – www.MarcAtiyolil.com. Season 2 airs weekly starting in January 2012.
To submit a question for Marc Atiyolil, visit www.MarcAtiyolil.com
COPYRIGHT 2011 – CHT Media
