DIY Chalkboard Labels
Dear Marc:
I find it hard organizing my kitchen cupboards. I used to love cooking but now I get so discouraged because I can never find the right ingredients in my disorganized kitchen. Help!
Veronica
Dear Veronica:
Any chef will tell you that a well organized kitchen is the key to enjoying your culinary activities. Now, that is easier said than done. They’ve gone to school and have been trained to keep their kitchens in pristine order. So how does an average Joe keep his kitchen from looking like something out of an episode of “Hoarders”?
The answer lies in labeling ingredients and creating designated areas for all your culinary tools. Start by taking inventory of what you have in your cupboards. So many of us have no clue what is lying in the back of our cupboards. Once you have your list, organize it on paper. As a general rule, you want to group similar items together. For instance, everyday dinnerware should be placed separately from fine china because who wants to stumble through fine china to find a glass or a plate for breakfast.
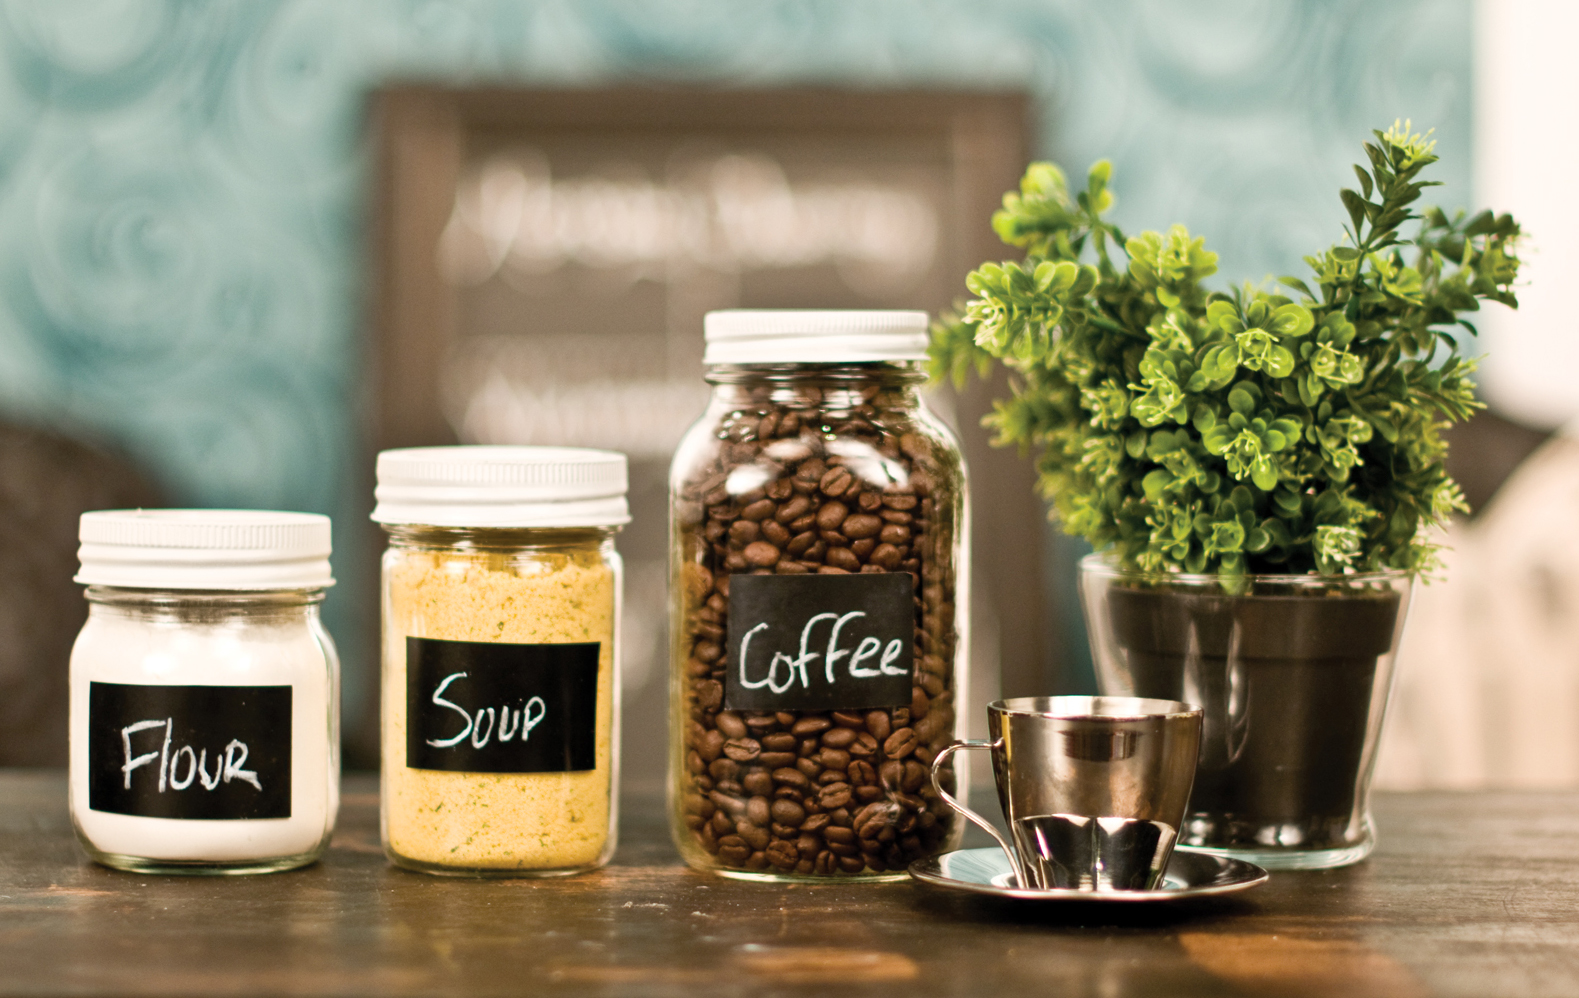
When organizing your spice and ingredient cupboard, the key is to label each ingredient and don’t confine yourself to an item’s manufactured box or plastic container. Choose containers that work well within your current storage area such as a well-sealed mason jar. Today, we’ll learn how to create chic chalkboard labels that you can place on containers to help in your organizational process.
Supplies:
– Krylon chalkboard paint
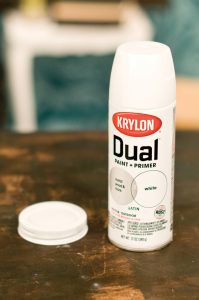
– White satin Krylon dual paint and primer
– Glue gun and glue sticks
– Mason jar with a lid
– Self-adhesive mailing labels
– Latex gloves
– Sheet of poly
– Chalk
Step 1:
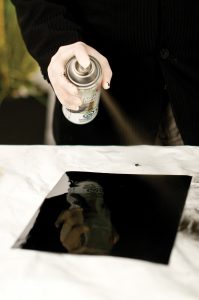
Lay a few self-adhesive labels on a surface protector. Spray chalkboard paint onto the labels and let dry.
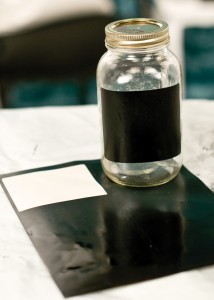
Step 2:
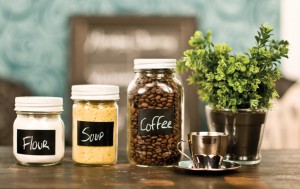
Peel and stick the new labels onto glass jars and write the container’s content using chalk.
Step 3:
Glue the two parts of the lid together using a hot glue gun. Spray the exterior of the lid using Krylon Dual Primer and Paint in a white satin finish and let dry.
Step 4:
Screw the lid back onto the mason jar. Fill the mason jar with the contents of your choice and display it in your cupboard.
