DIY Ice Bucket Update

Dear Marc:
I read your column every week. I love the bathroom fixture that you transformed into a table centrepiece!
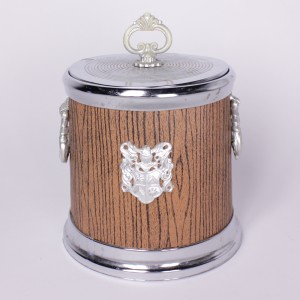
I have an old ice bucket that needs help! My boyfriend is coming over for a romantic evening and I want everything to be perfect! As you can see, the bucket is wrapped in a wood look-a-like vinyl product, making it kind of ugly! Any tips for transforming this bucket into something nice for the perfect date?
Jasmine
Dear Jasmine:
A romantic evening at home with your sweetheart is sometimes more enjoyable than a night on the town. The conversation is typically intimate without having to talk over excess noise coming from nearby tables.
A glass of wine and the perfect toast is a great way to get conversation brewing. Last summer, I had the opportunity to tour wine country on the beautiful west coast. Vineyard owners attest to the importance of using the right accessories when serving wine, as its flavour changes depending on the core temperature and how it’s served.
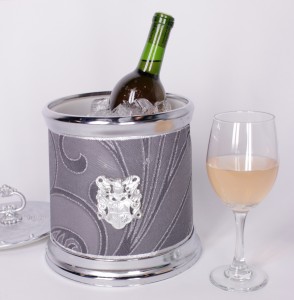
Chilling wine inside a beautiful ice bucket is of utmost importance, because who wants an ugly “faux bois” ice bucket staring at them during the entire night? It’s enough to drive a decor enthusiast up the wall, not to mention bring a tacky air to the whole ambience of the room. But not to worry, ugly will ‘kick the bucket’ on this project. We’ll transform an old ice bucket into a glamorous bucket similar to those found in boutique hotels.
The following materials are required for this ice bucket project.
– Wallpaper
– Utility Knife
– Surface Protector
– Silver Leafing Pen
– Strong Scrapbook Double-Sided Tape
Step 1:
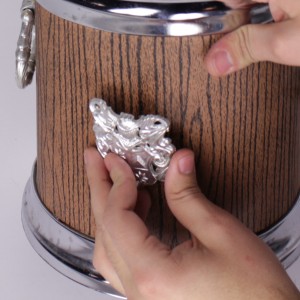
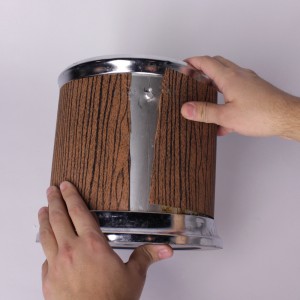
Remove all original accessories glued to the ice bucket. Using a utility knife cut the seam and remove the vinyl covering the ice bucket.
Step 2:
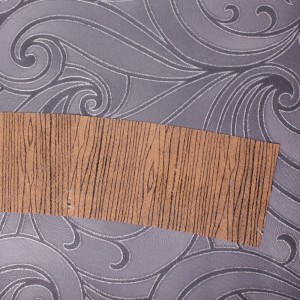
Lay a surface protector on the work area. Place a sheet of wallpaper atop the protector, and then layer the vinyl on the wallpaper.
Step 3:
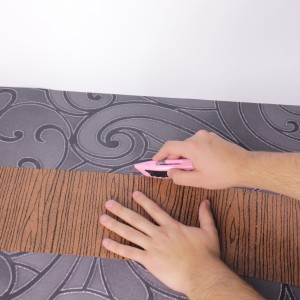
Using the vinyl as a guide cut the wallpaper to the same size as the original vinyl. Flip the newly cut piece of wallpaper upside down and adhere double sided tape on the top, bottom and each opposing end.
Step 4:
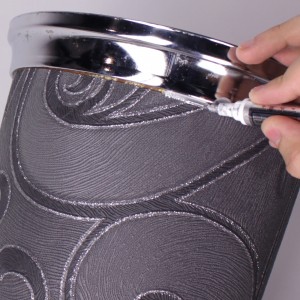
Position the wallpaper in place on the ice bucket. Draw a line with the silver leafing pen where the wallpaper meets the chrome edges. This will help camouflage any imperfections.
Step 5:
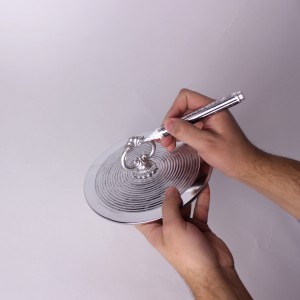
Using a silver leafing pen, touch up any scratches or nicks in the chrome on the bucket’s lid.
Step 6:
Voila, a chic ice bucket is born! Fill it with ice, choose a nice bottle of wine and enjoy your romantic evening!
