How to recover a book (Super Easy DIY)
Learn how to recover a book in 4 easy steps!

Dear Marc:
I saw this gorgeous bookcase in a magazine and all the books had been recovered in paper. I liked the clean look of the covered books. Is that hard to do?
Rose
Dear Rose:
Covered books! That takes me back to elementary school when our teacher would send a note home asking our parents to upholster our dictionary covers with paper to protect them. Everyone had these funky designs – dinosaurs, fish, puppies, horses, and anything else with four legs or a fin. Although, there was one exception – my crisp white dictionary. I figured, the clean look worked for my dictionary.
Well at least it covered the hideous sky blue and blood red theme the book had been previously sporting. I clearly remember taking my time to write in cursive writing “Dictionary” on the spine. Now, I have always been a perfectionist to some extent. Remember, admitting it is the first step. Now, if only I would have admitted it in kindergarten during my argument with Jeremy over which color a mouse should be. To this day, I am sticking to my original argument – mice are either brown or grey – not purple and pink! Oh well, c’est la vie! We can’t save every color disaster!
I think elementary teachers have a good sense of design. Think about it. How many people can coordinate every color from the rainbow into one classroom and make it look good? Whimsical and fun is their design style and it works for them!
Keeping with this design style, I think we can have a little fun creating this project! Whether the covers are used for your kid’s dictionary protector, or the books gracing the shelves of your bookcase, it will look stunning.
How To Recover A Book DIY Supplies:
- Hardcover books
- White Legal-Sized Paper
- Krylon Silver and Gold Leafing Pens
- Lettering Stencils
- Double-Sided Tape
- Ruler
- Scissors

Step 1:
Lay the piece of paper on a counter and completely open the book so that the cover faces the counter. You will use this as your guide to size your paper.

Step 2:
Using a pencil, mark the cover’s height and width. Give yourself an additional two inches on each end of the book cover so that when cut and set in place, it will wrap around into the inside cover. Remove the book and cut the paper.

Step 3:
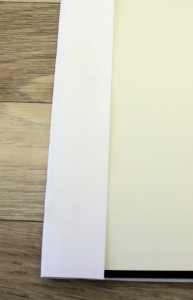
Open the book and adhere one paper end to the inside cover of the book. Wrap the paper around the cover, have it run along the spine to the back of the book where you will fold it inwards and adhere it to the inside back cover.

Step 4:
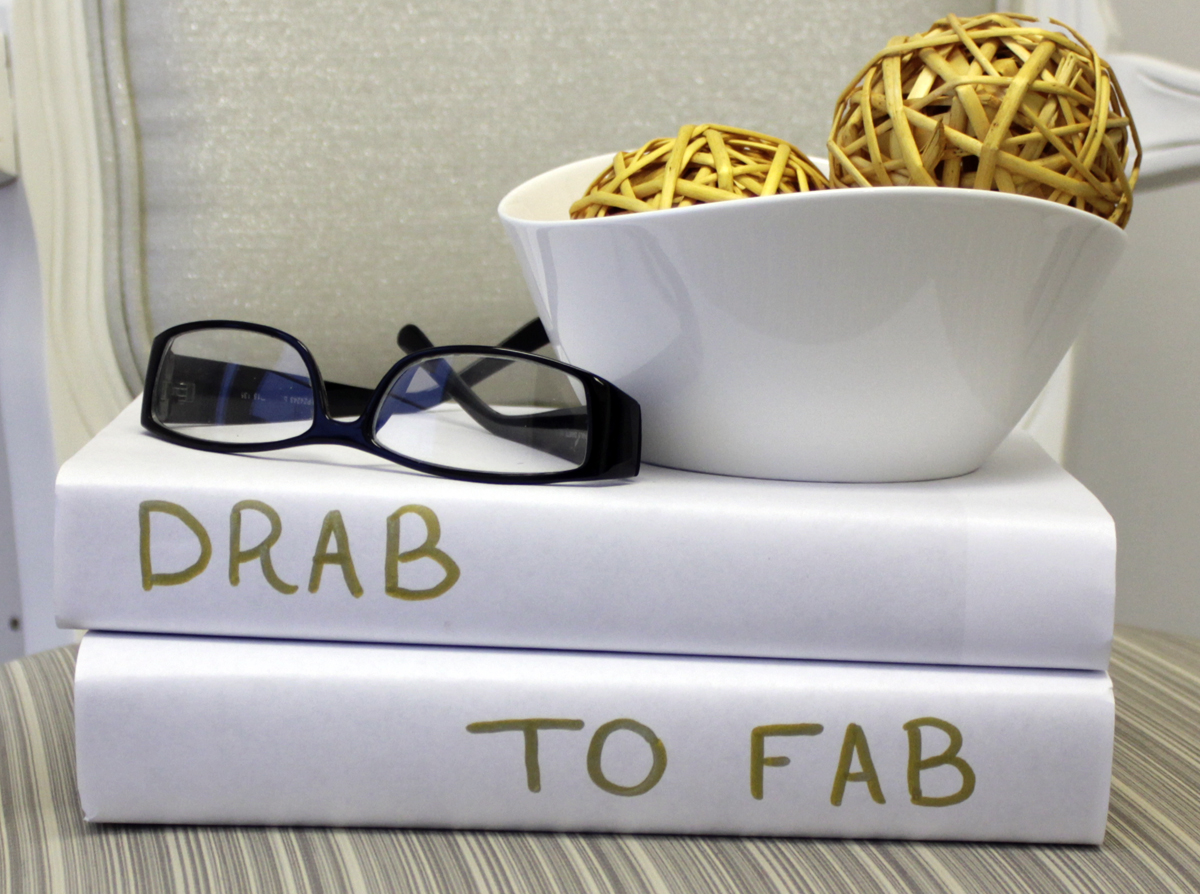
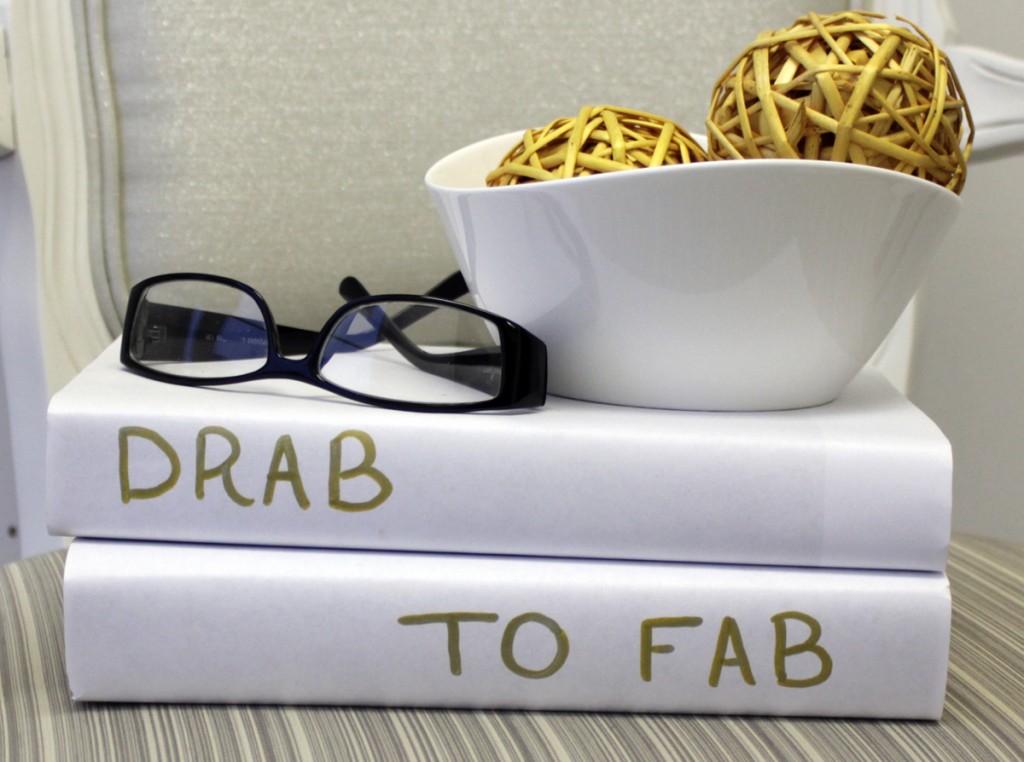
Using your silver leafing pen, stencil the title of the book. For longer titles – shorten them and be creative. Place your book back on your shelf and enjoy your new look!


