Updating An Old Table
Dear Marc:
I picked up an old metal base retail counter during a closing out sale. The wood top is in rough shape (scratches and scrapes), but I remembered what you always say: “With a little elbow grease, anything is possible”. So I bought it. Now comes the fun part- how do I turn this bad boy into a table we’d see gracing the pages of a magazine?
Albert
Dear Albert:
I am always a little perplexed during a closing out sale. I’m sad that the store wasn’t able to make it a go, but on the other hand, I’m in heaven because everything has a blowout price on it. Talk about a bipolar mood swing wrapped in a shopping spree!
I think retail counters, especially the ones that you are describing, are ultra sexy! I picked one up myself at a flea market the other week and it sang to me. “Can’t touch this.. to too tooo tooo” I had to have it! I may have pushed a few people out of the way running towards it, only to realize that I was the only one who wanted it. Apparently not everyone saw its potential, but I did.
When it came to the back and forth banter for this acquisition, I got the guy down to about ten dollars which was a perfect price for this DIY project! I stuffed the table into my wife’s cross-over vehicle and I mean stuffed. My face was so close to the windshield that it reminded me when I was a kid and we would press our faces against random windows. Looking back, I can only imagine what was going through our mother’s head as she saw us making “silly faces” against a window with nobody on the other side. Then again, we also talked into those ol’ school fans and pretended we were a certain fast food chain’s take out window. Oh to be young and umm.. foolish. Yes, let’s call it foolish to protect the innocent.
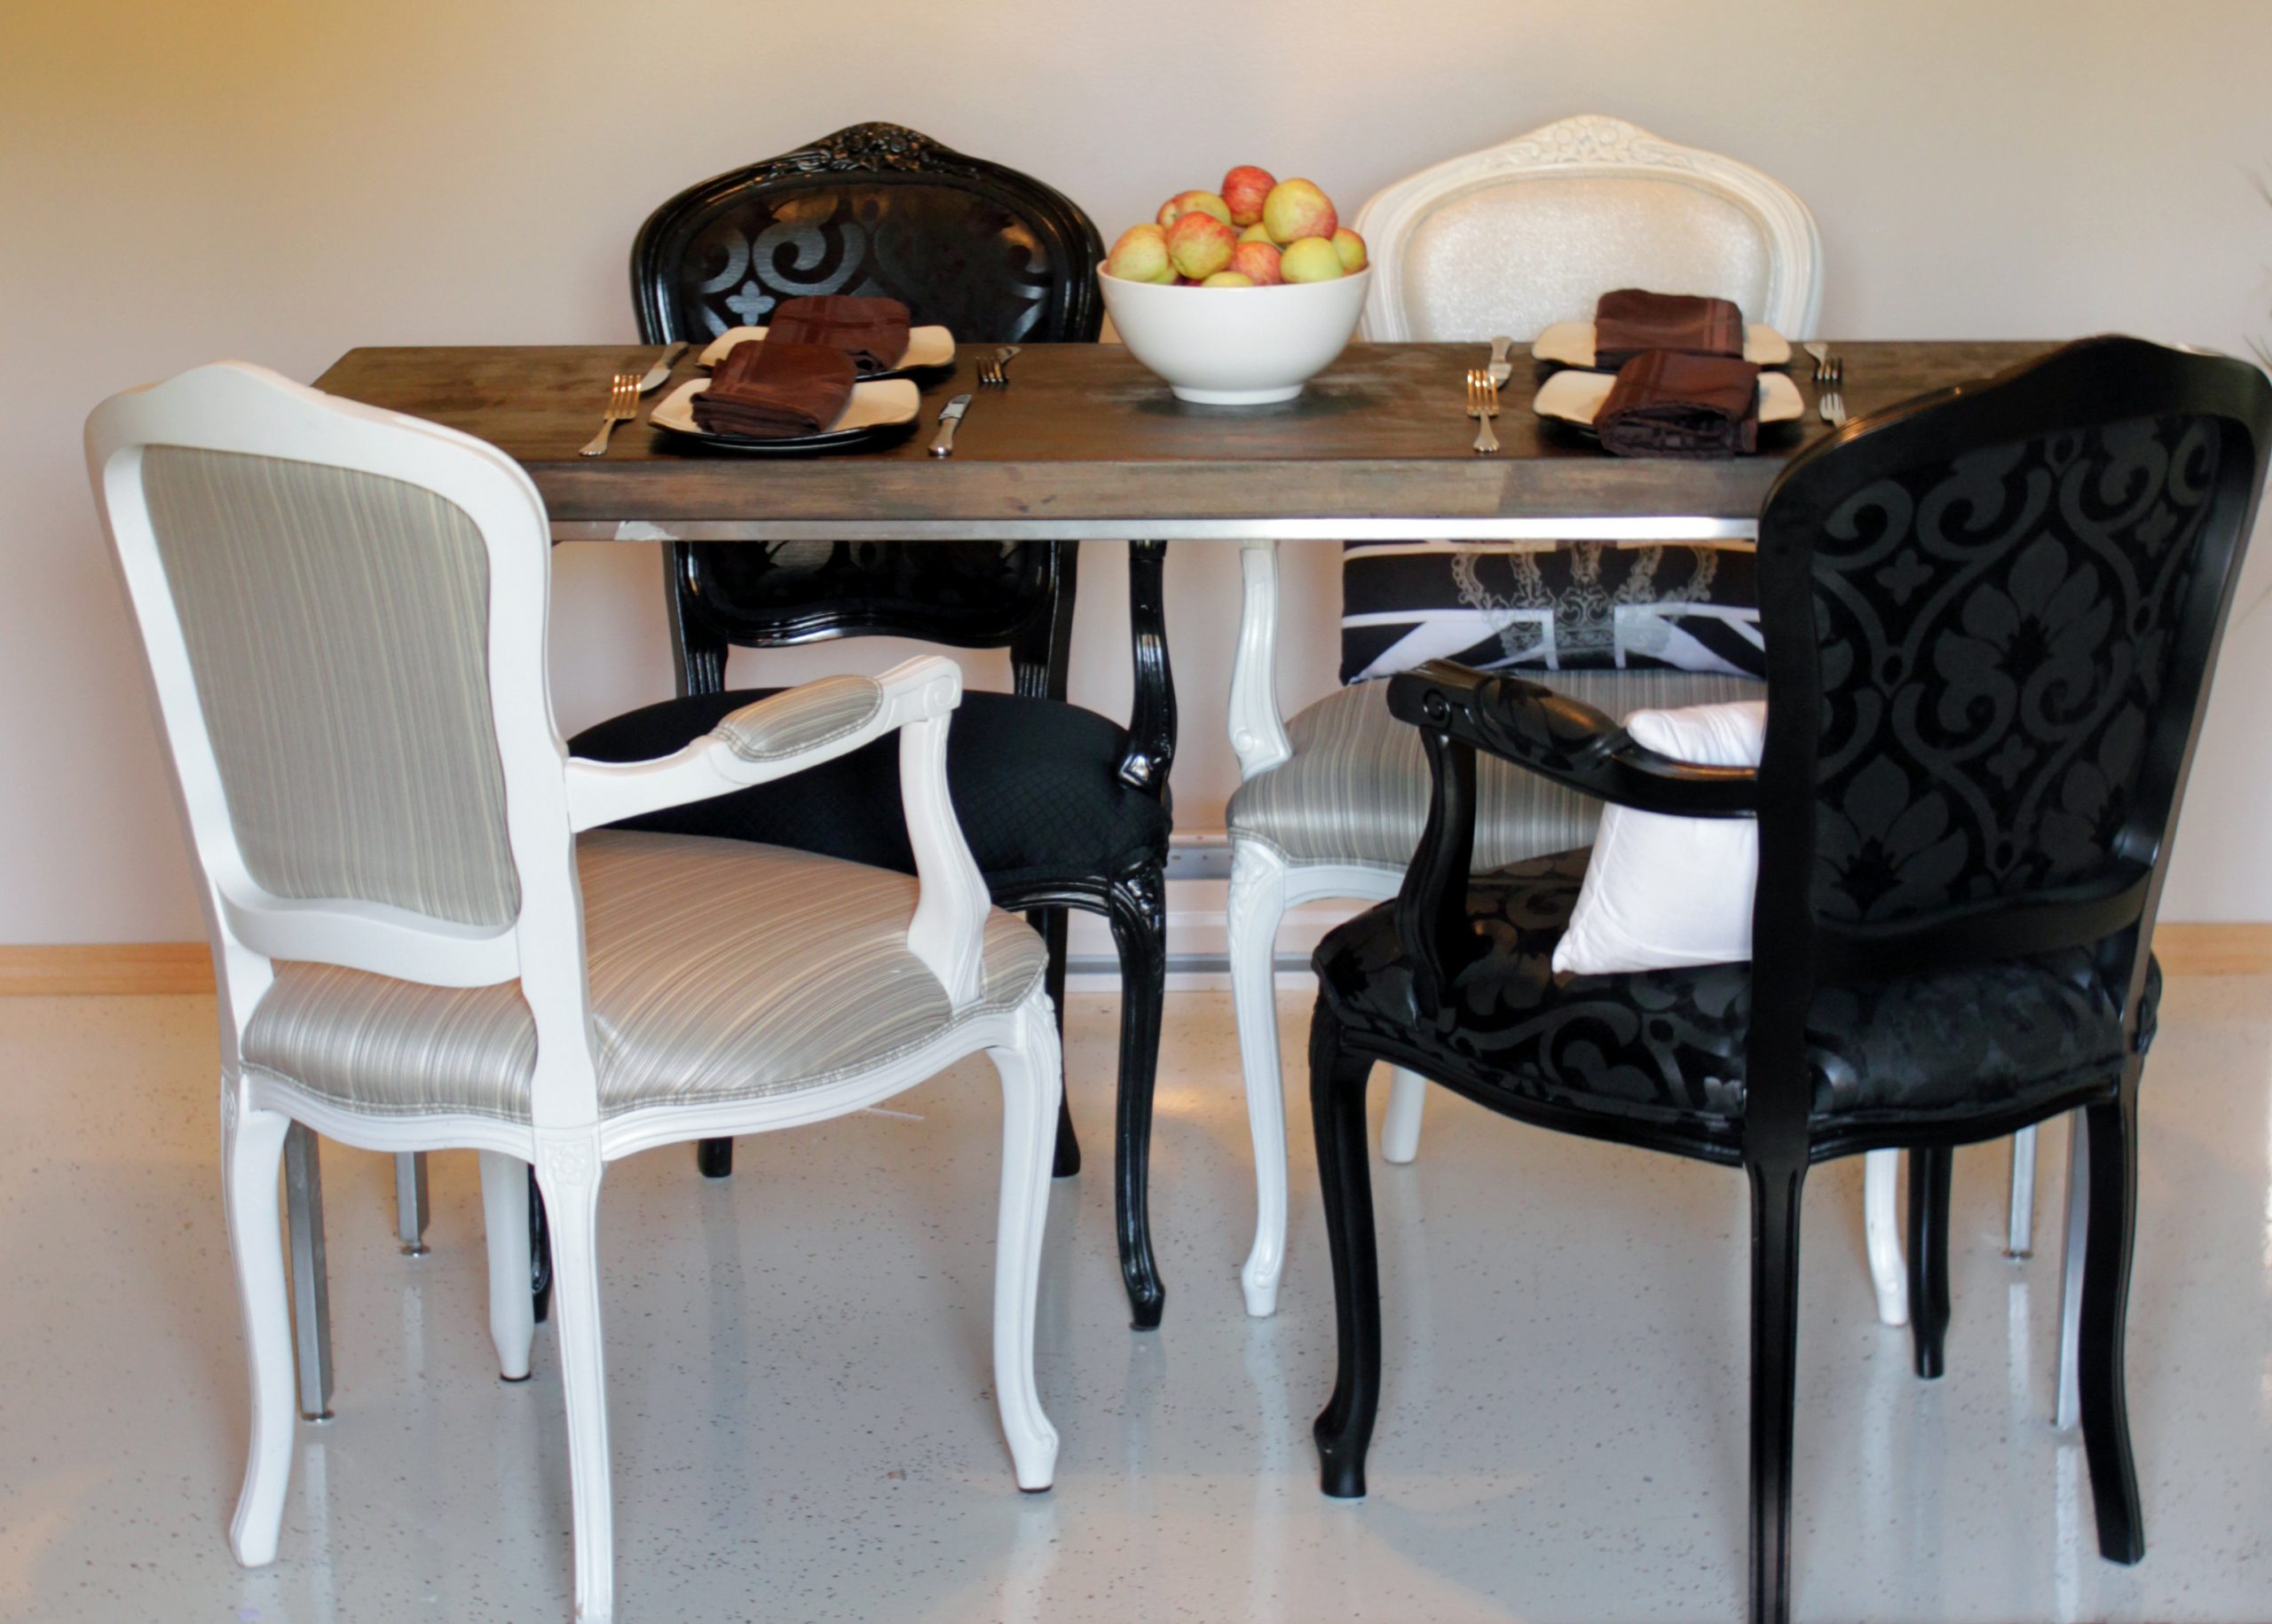
Anyway, I digress from our fabulous project that we are about to makeover! We’ll take that hideous retail counter and turn it into the perfect weekend project – a designer table.
Supplies:
- Retail Counter with wood top
- Dark wood stain
- Paint brush
- Lacquer
- Stain Stripper
- Scraper
- Gloves
- Sponge
- Sand Paper

Step 1:
Put on those handy gloves, unless you want your cuticles permanently stained. Remove the counter. Apply stain stripper to the entire counter and scrape the old stain off. Once the stain has been removed, sand the surface. Wipe off excess debris.
Step 2:
Apply the dark wood stain to the counter. Then, lacquer the wood to seal the stain.

Step 3:
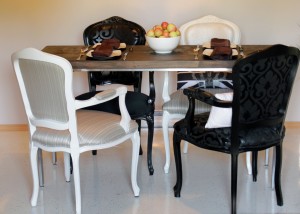
Place the counter back on the metal frame and secure it back in place. Move your new table into your dining room and pair it with modern or traditional chairs for a fab look!


