DIY Spotlight Lamp (How To)
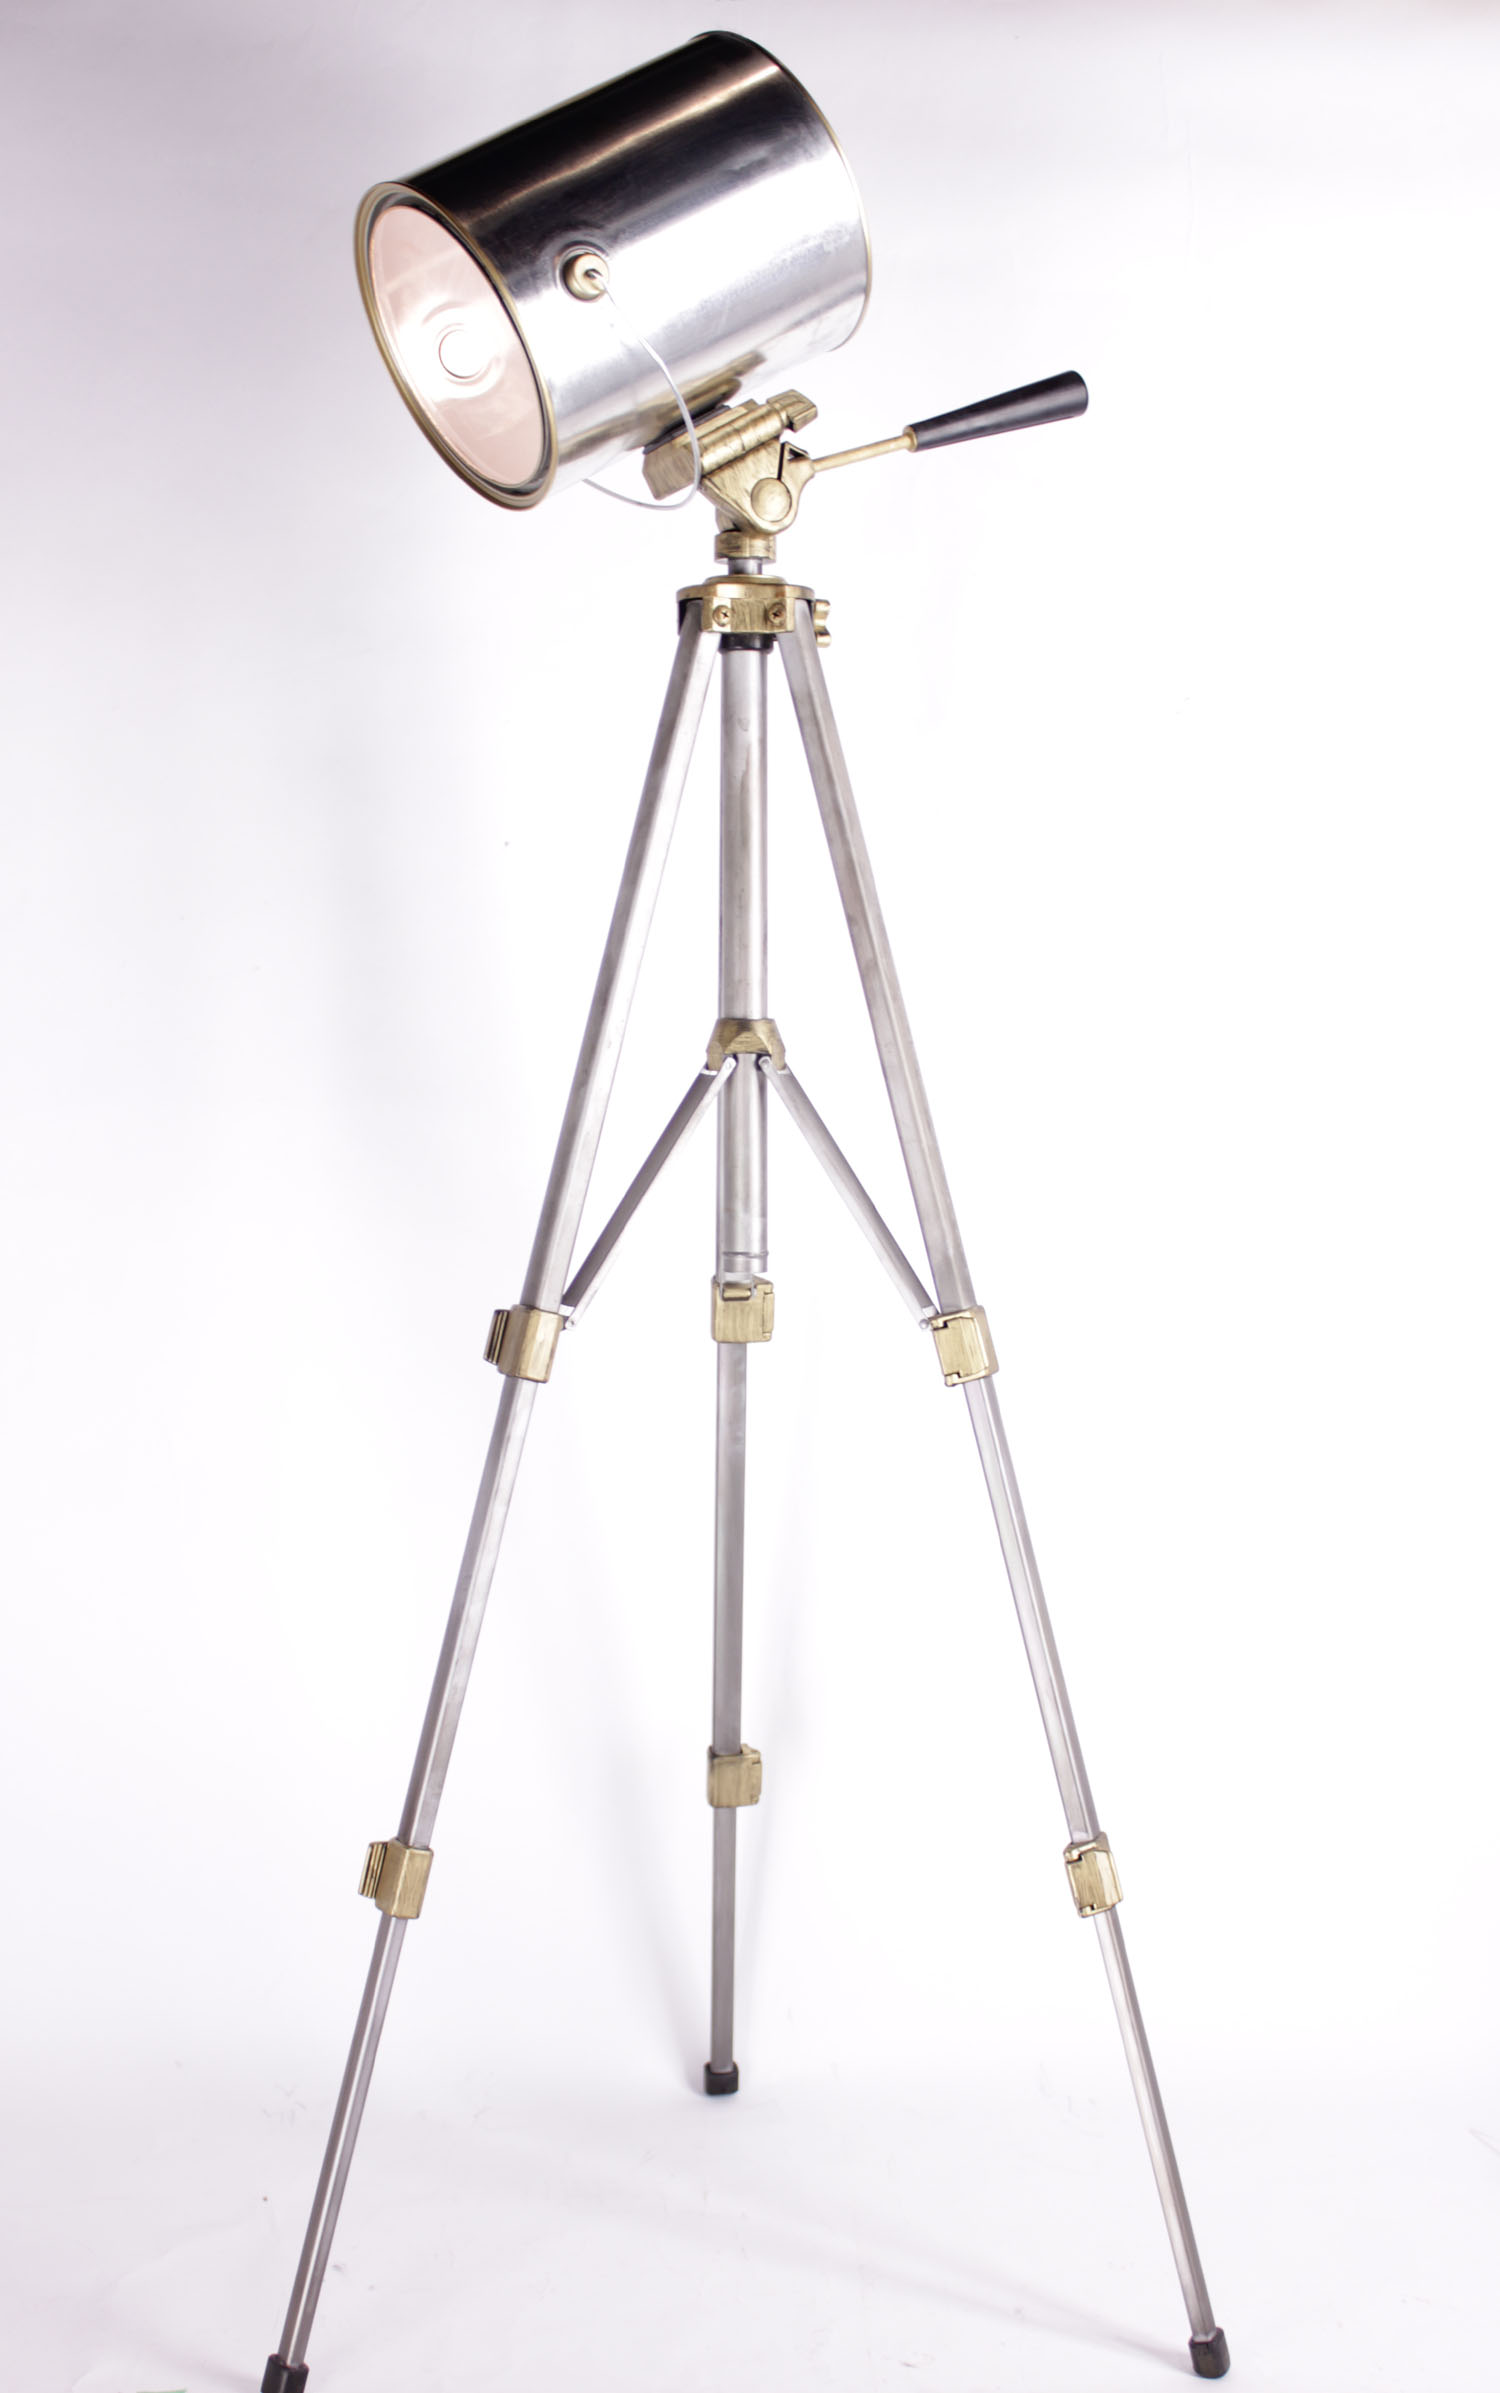
Learn how to make a DIY spotlight lamp using a recycled paint can.
Dear Marc:
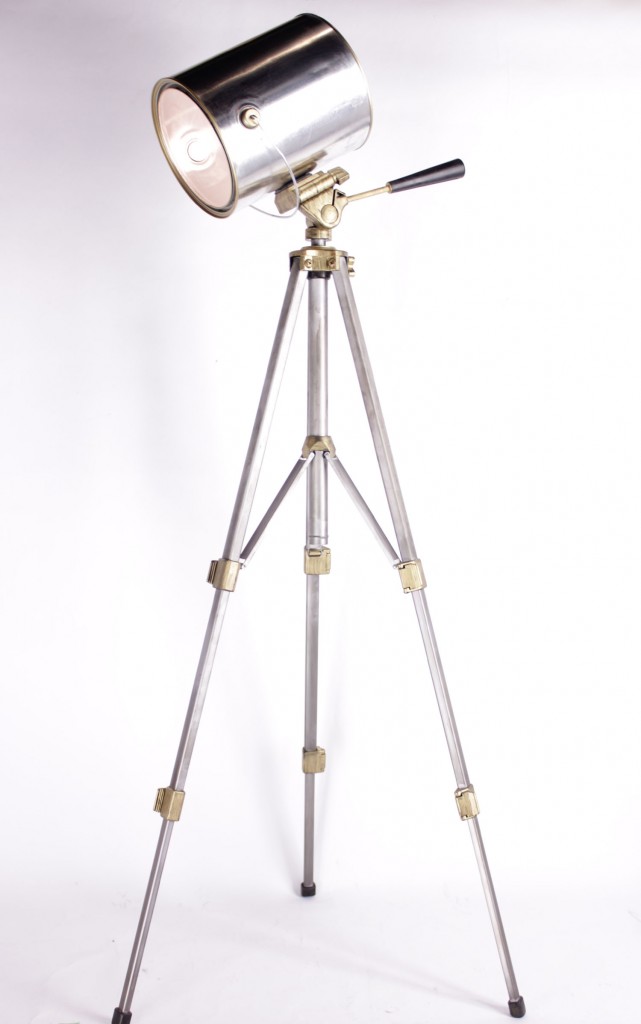
I look forward to your column every week. I’m always amazed at how you create such cool projects. I’m writing to you as I have a challenge for you: I want to make a spotlight floor lamp. This lamp first caught my eye at a design show and I desperately want one for my living room. The lamp is a little on the pricey side so I wanted to see if you could show me how to build one myself.
Kristen
Dear Kristen,
Spotlight lamps are some of the most stunning light fixtures on the market today. They have a mysterious look and incorporate a mixture of industrial, nautical and modernism, making them truly unique. They are a statement piece; some might say the Gucci of home design.
I often catch myself drooling over such a statement piece and wonder if it is possible to recreate a spotlight lamp on a budget. Some have said it is impossible, although I believe anything is possible with a little elbow grease.
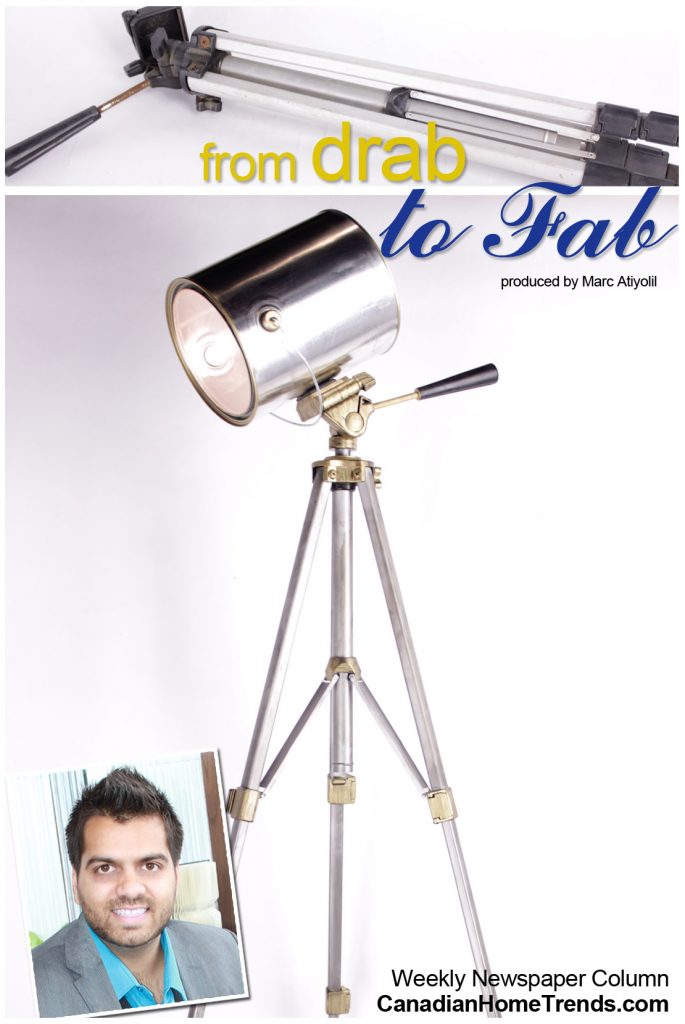
In today’s project, a tripod and an empty can of paint will be transformed into a stunning spotlight.
The following supplies are required for this DIY Spotlight Lamp project.
– Metal tripod
– Empty paint can
– Heat-resistant paint
– Scrapbook distressing ink
– Krylon gold leafing pen
– Lamp light kit
– Drill and appropriate size bit
– 2 Nuts and bolts that correspond with the tripod
– Sponge
Step 1:
Creating the spotlight lamp.
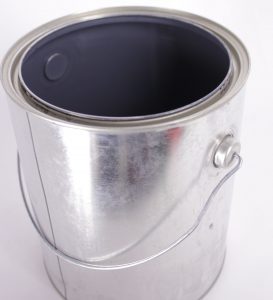
Remove the paint can label and wash the inside of the empty can. Be sure to thoroughly remove any paint residue. Dry the can with a cloth. Once dry, paint the inside of the can with heat-resistant paint.
Step 2:
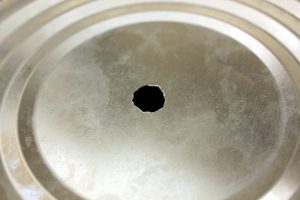
Flip the can upside down and drill a hole on the bottom. This hole will be used to hold the light socket in place within the can.
Step 3:
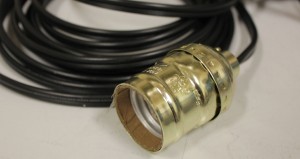
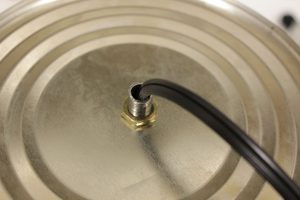
Wire the light socket from a light kit into the bottom of the can. Be sure to carefully follow the instructions for the kit. Caution: For those with limited knowledge of electrical components, seek professional help for this step.
Step 4:
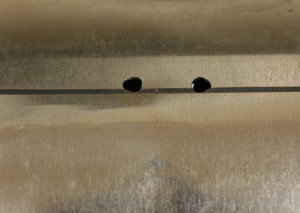
Drill two holes on one side of the can. Use nuts and bolts to secure the can to the tripod mount. Place the mount, which is now adhered to the can, on top of the tripod.
Step 5:
The finishing touches.
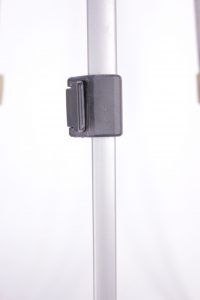
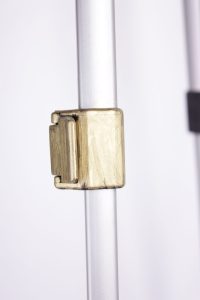
Using a leafing pen, cover the plastic joints of the tripod with a beautiful layer of gold metallic paint.
Step 6:
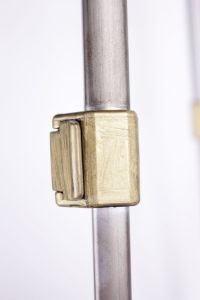
Depending on the look desired, use scrapbook distress ink to age the metal tripod. Smudge a variety of black, bronze and brown inks in a vertical fashion on the tripod legs.
Step 7:
In order to visually tie together the top and bottom metals of the fixture, draw a line with the gold leafing pen on the edge of the can.
Step 8:
Place a low wattage bulb in the socket and turn on the lamp. You now have your very own diy spotlight lamp!
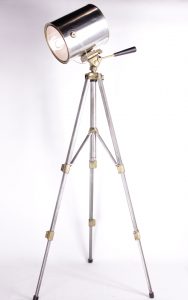
Warning: Use caution when placing lamps beside drapes and combustible materials as they can be a fire hazard.
Looking for more DIY ideas, click here






1 Comment
Comments are closed.